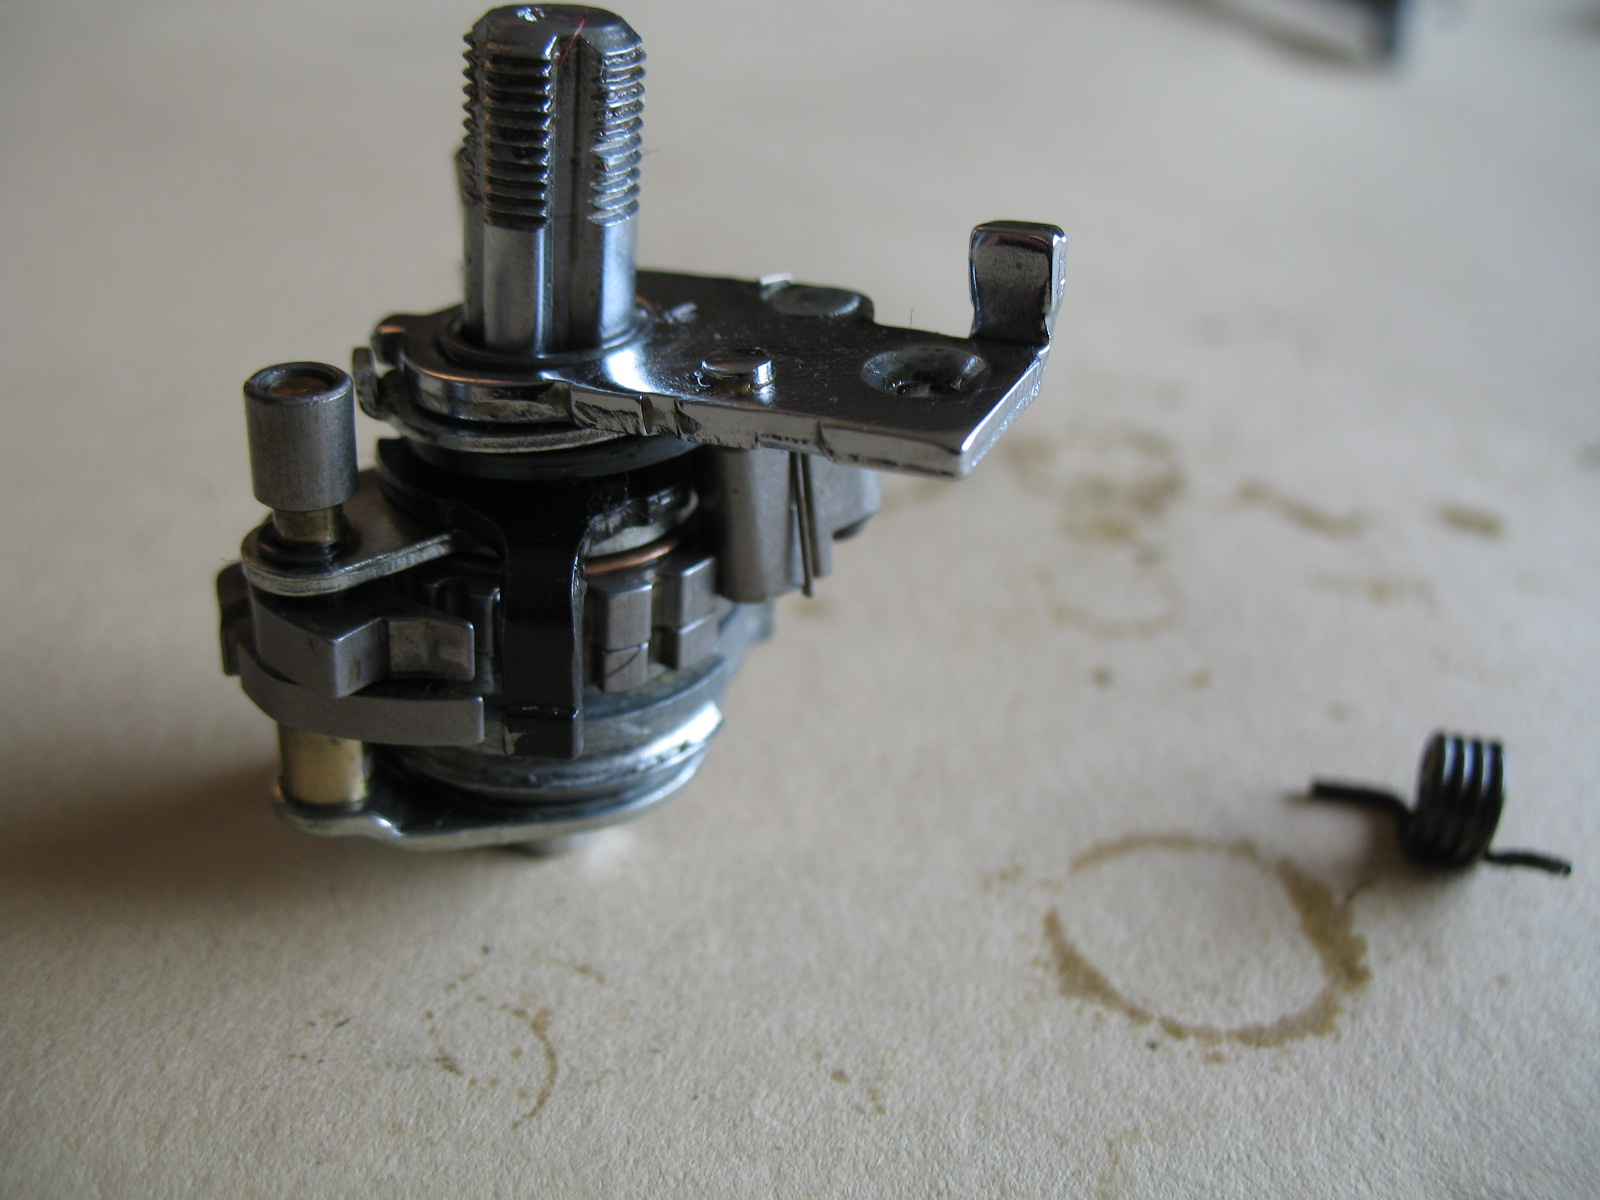
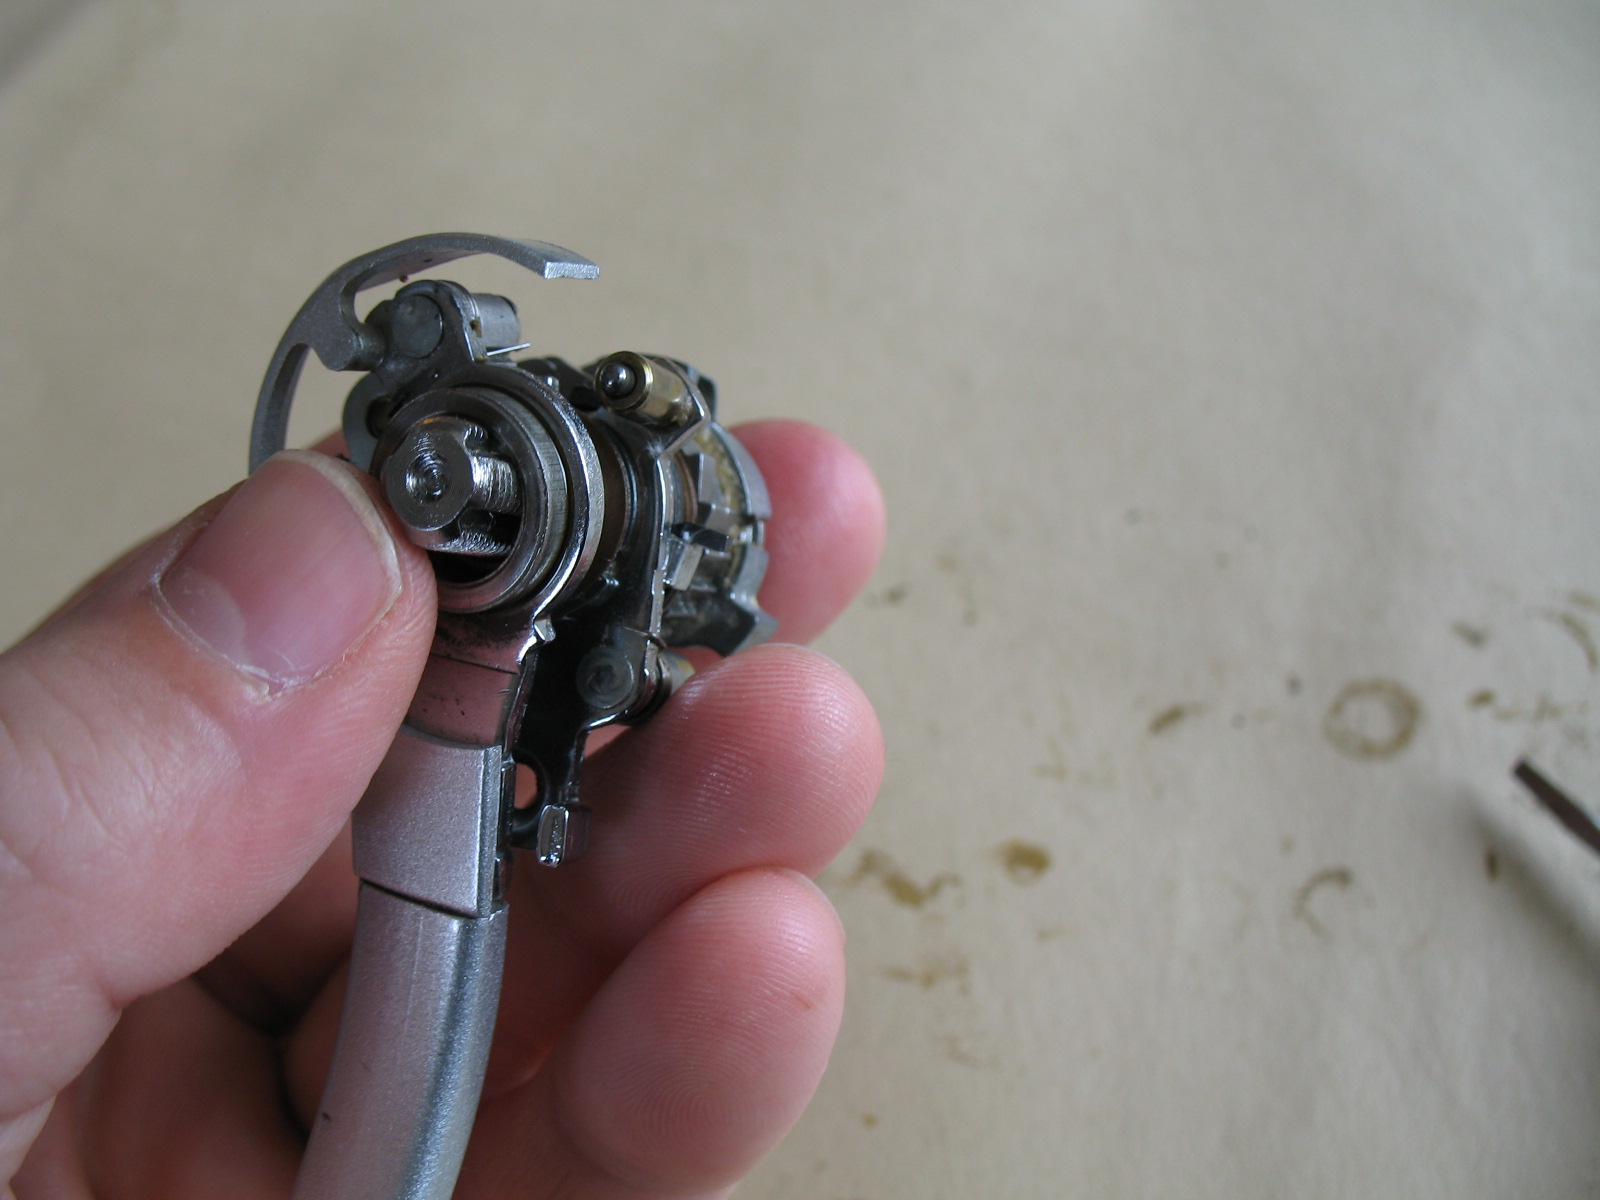
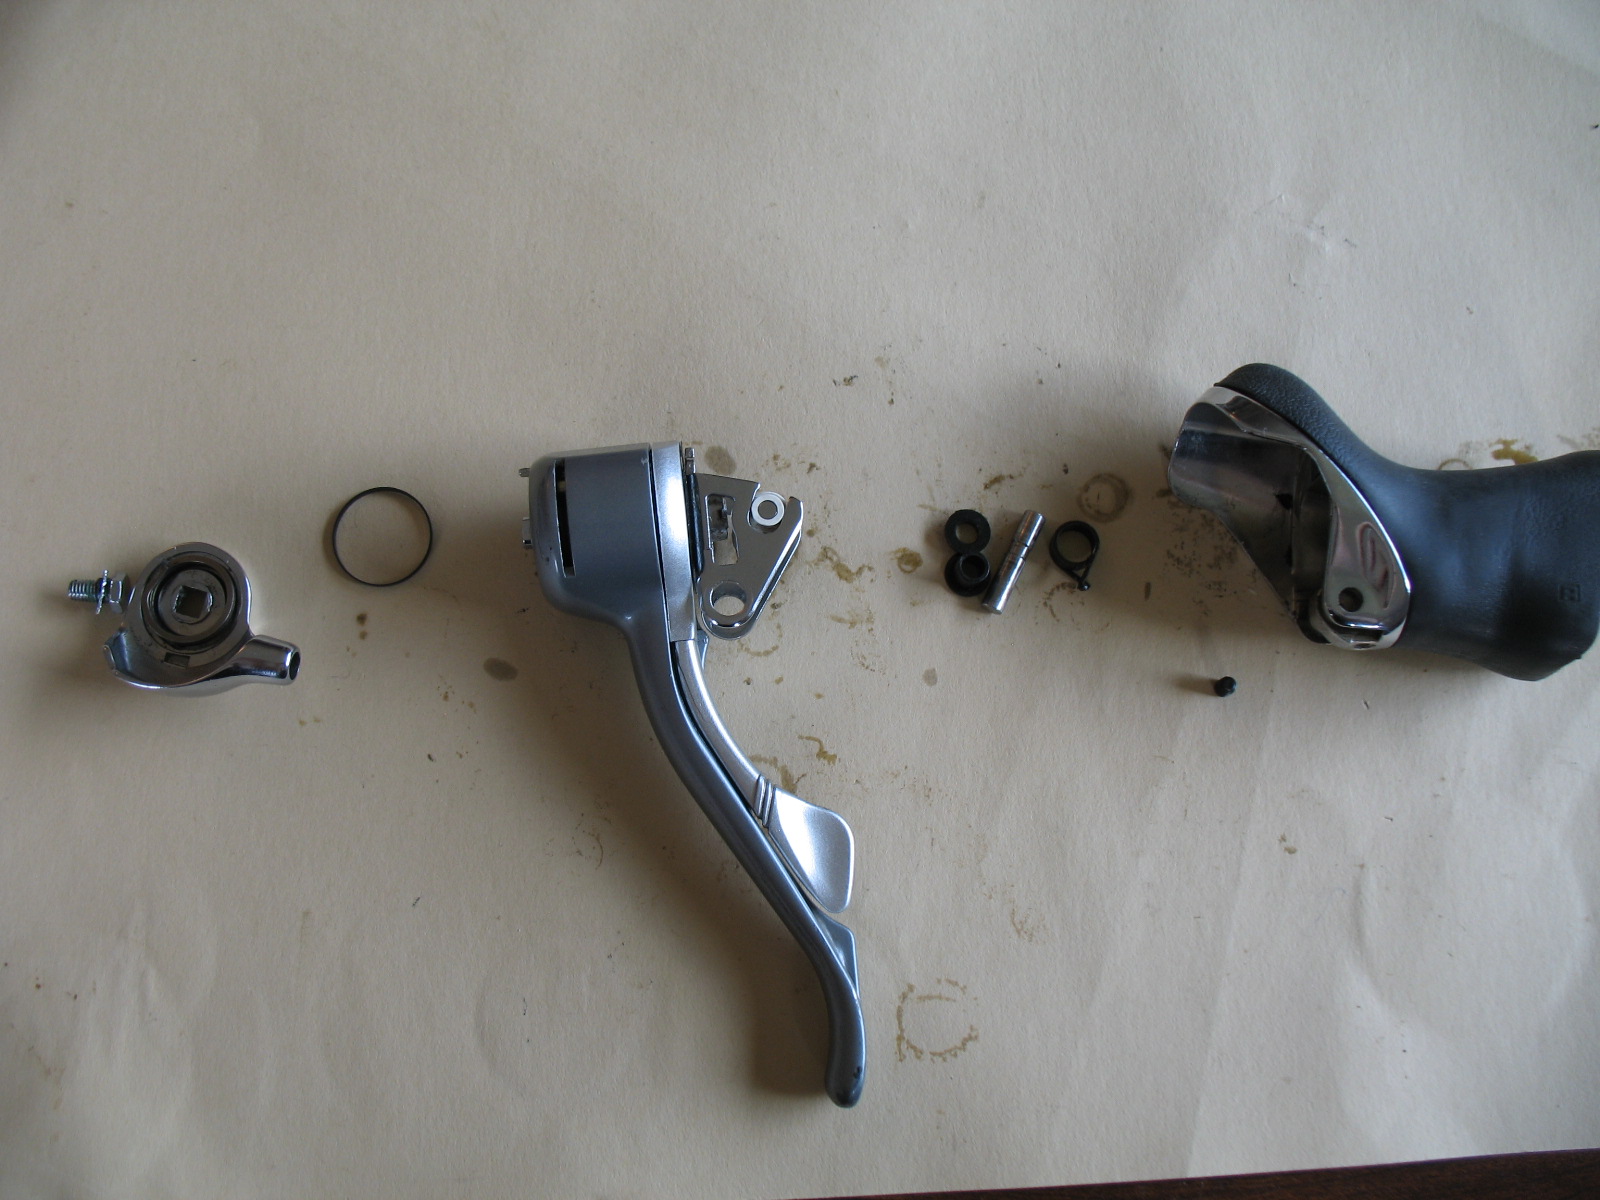
I put it off for a day, but now I’m ready to reassemble the 600 Right (rear) shifter. This is much more complicated than the left (front) shifter, and took more time. However I did it on my first try and I think you can too. Maybe I am delusional because I am still in the warm afterglow of finishing the reassembly correctly! Here are the parts:

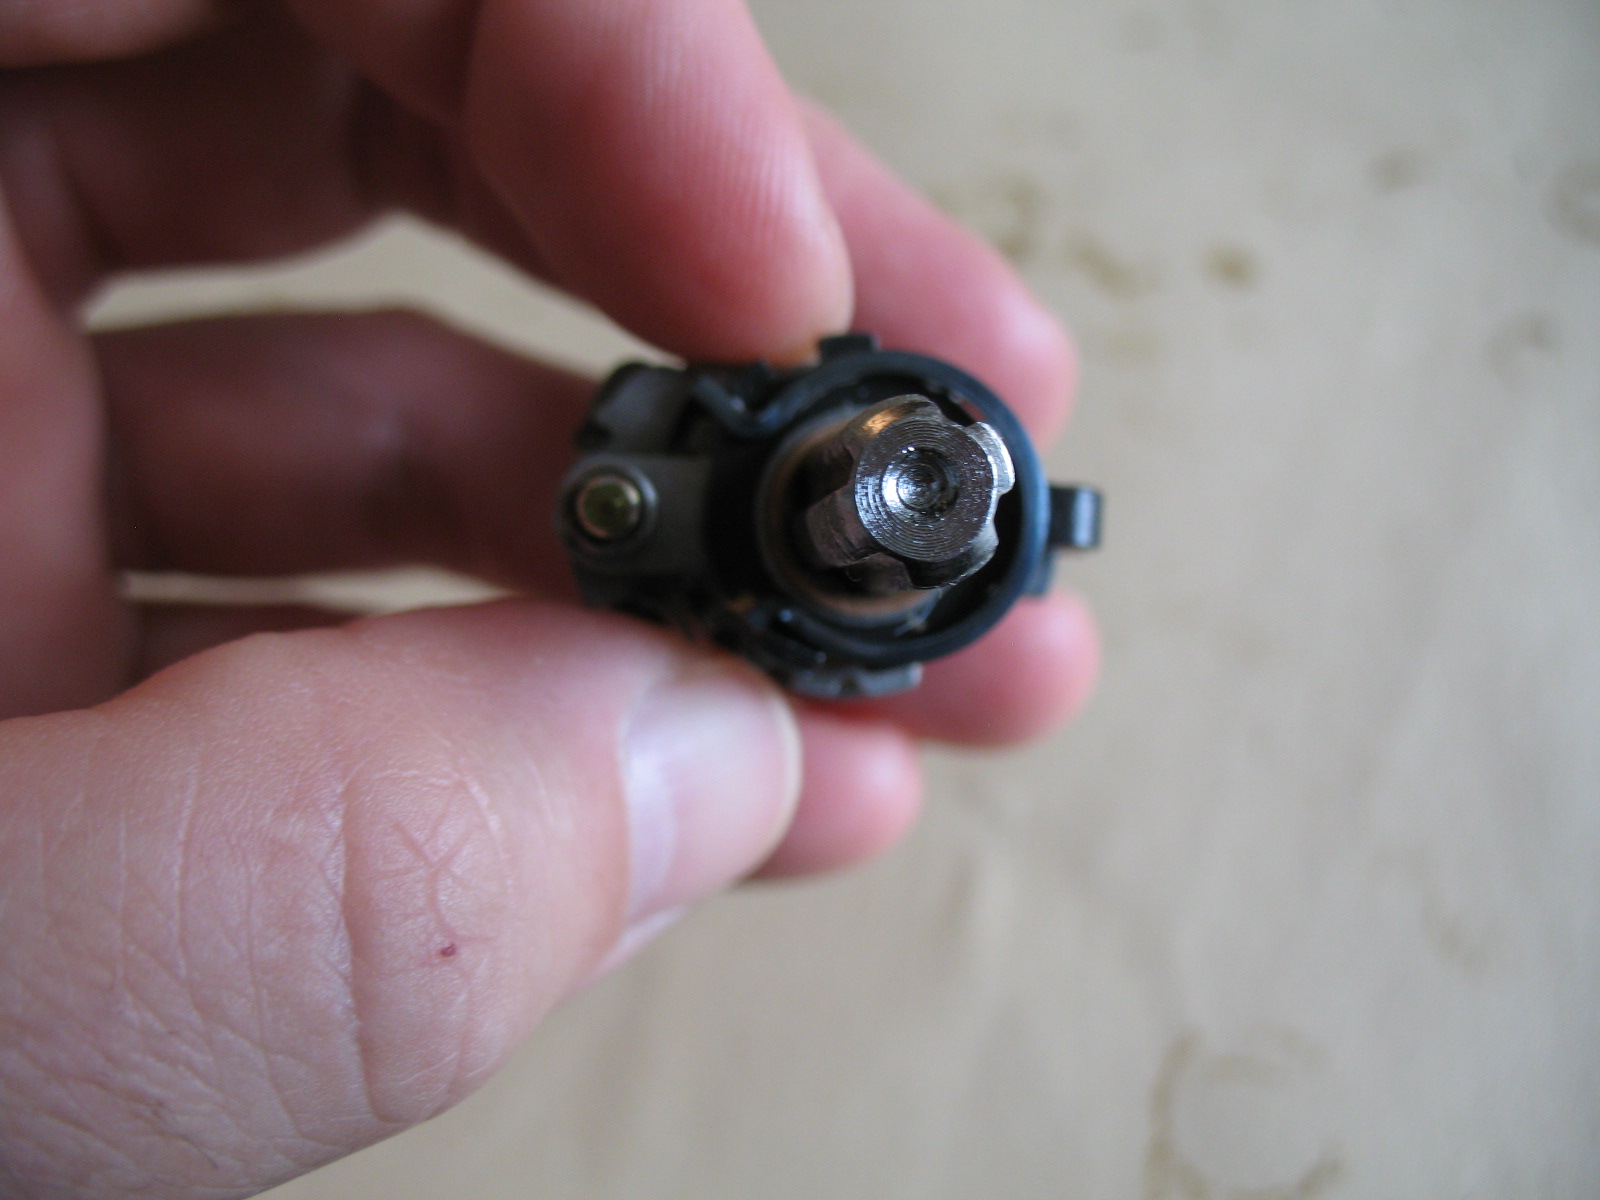
I want to answer one quick question I had from a friend: Are all the parts fully disassembled? No. In the exploded pictures I have left the pawls, springs and pins on the platforms. You will need to take them off, clean them, lube them, and reassemble to improve (repair) shifting performance, but this is straightforward. I will show the process below for one pawl, but it is the same for the rest. Ok… starting with the primary screw with cross cut we add the pewter colored shift cable stop and align the spring.


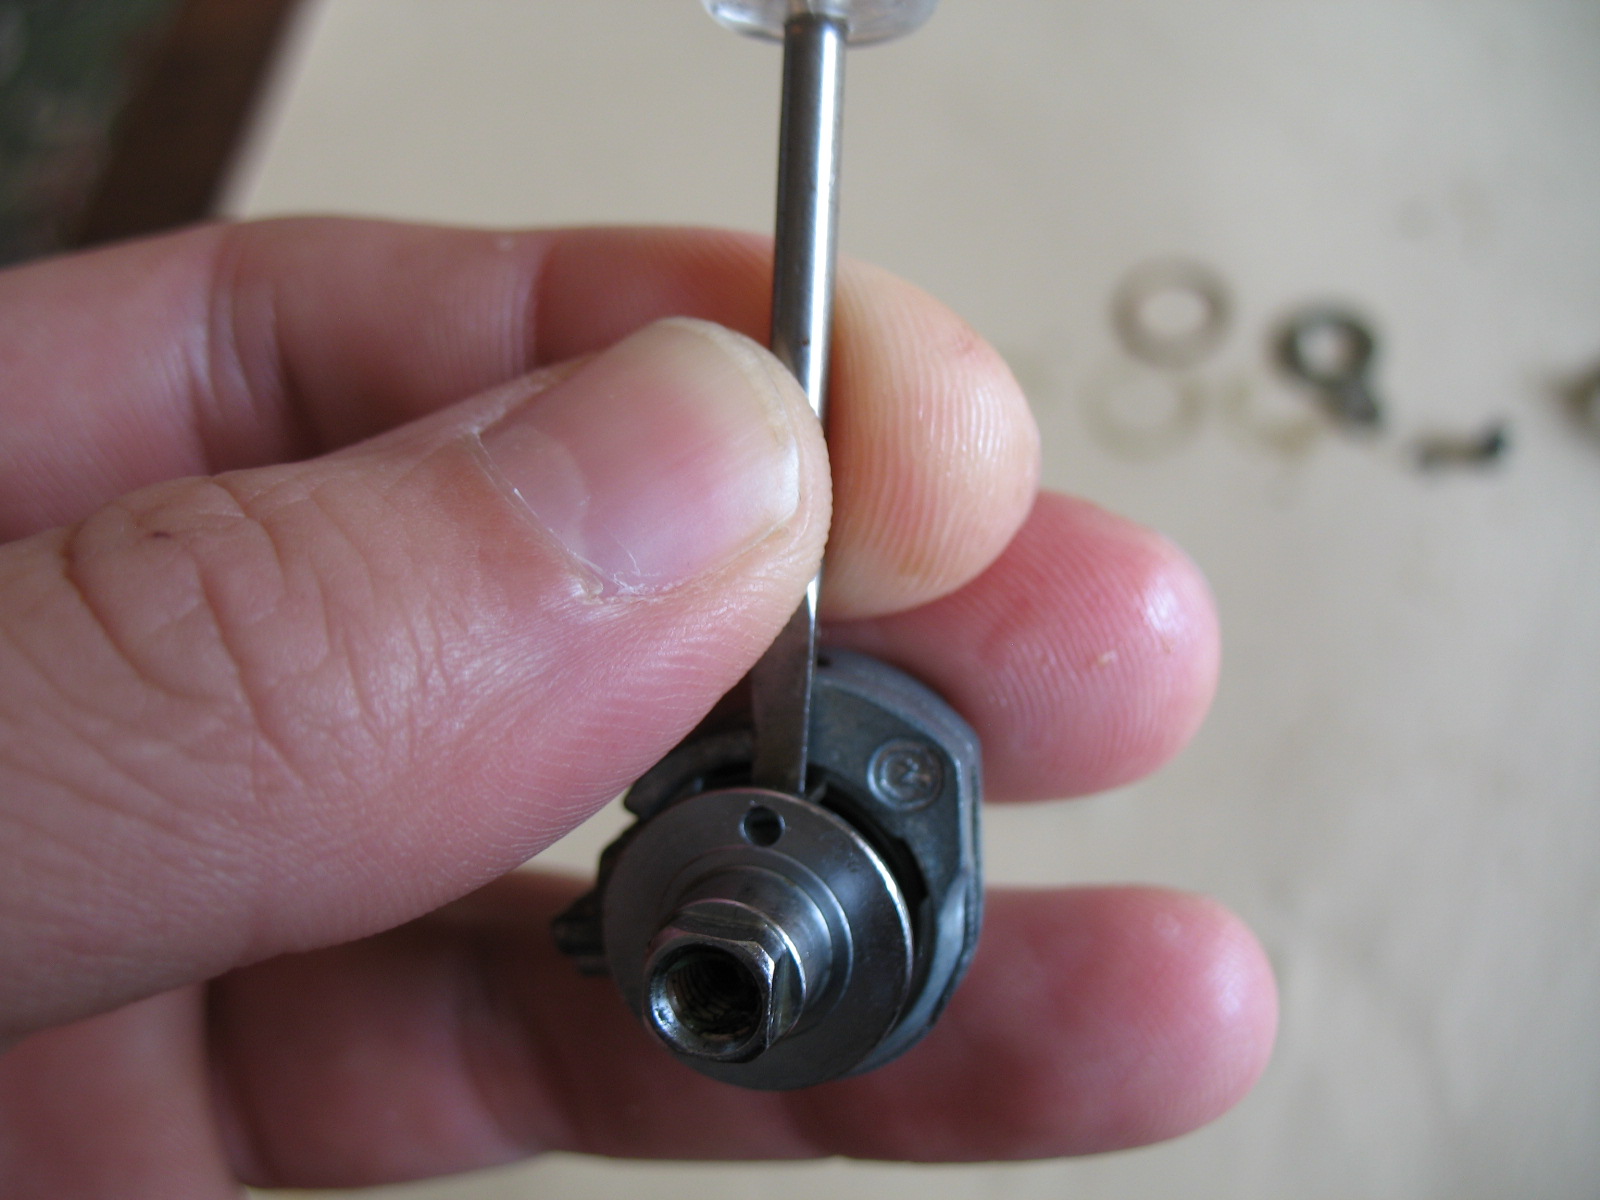
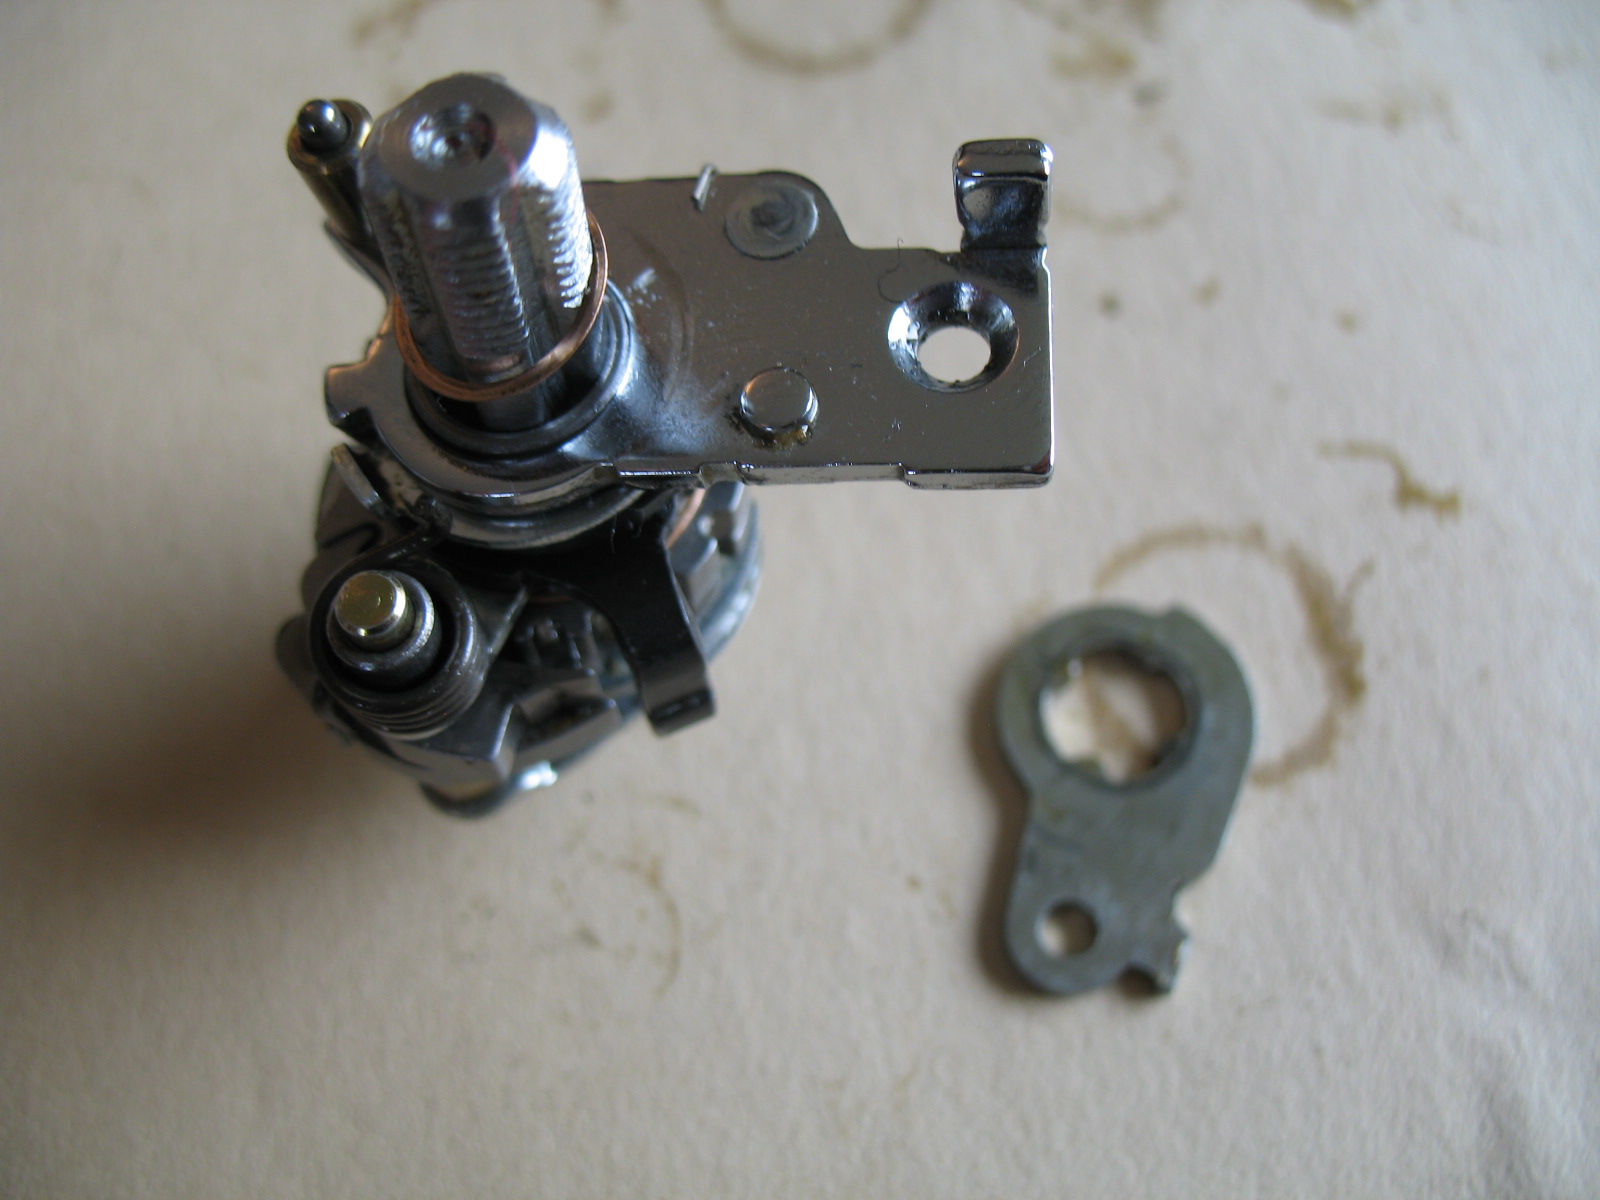
I use a small screw driver to load the spring an put it in place. Next we add the two pewter pawl catches. These are impossible to add in the incorrect alignment because they have different spline sizes just like a cassette on a rear hub.
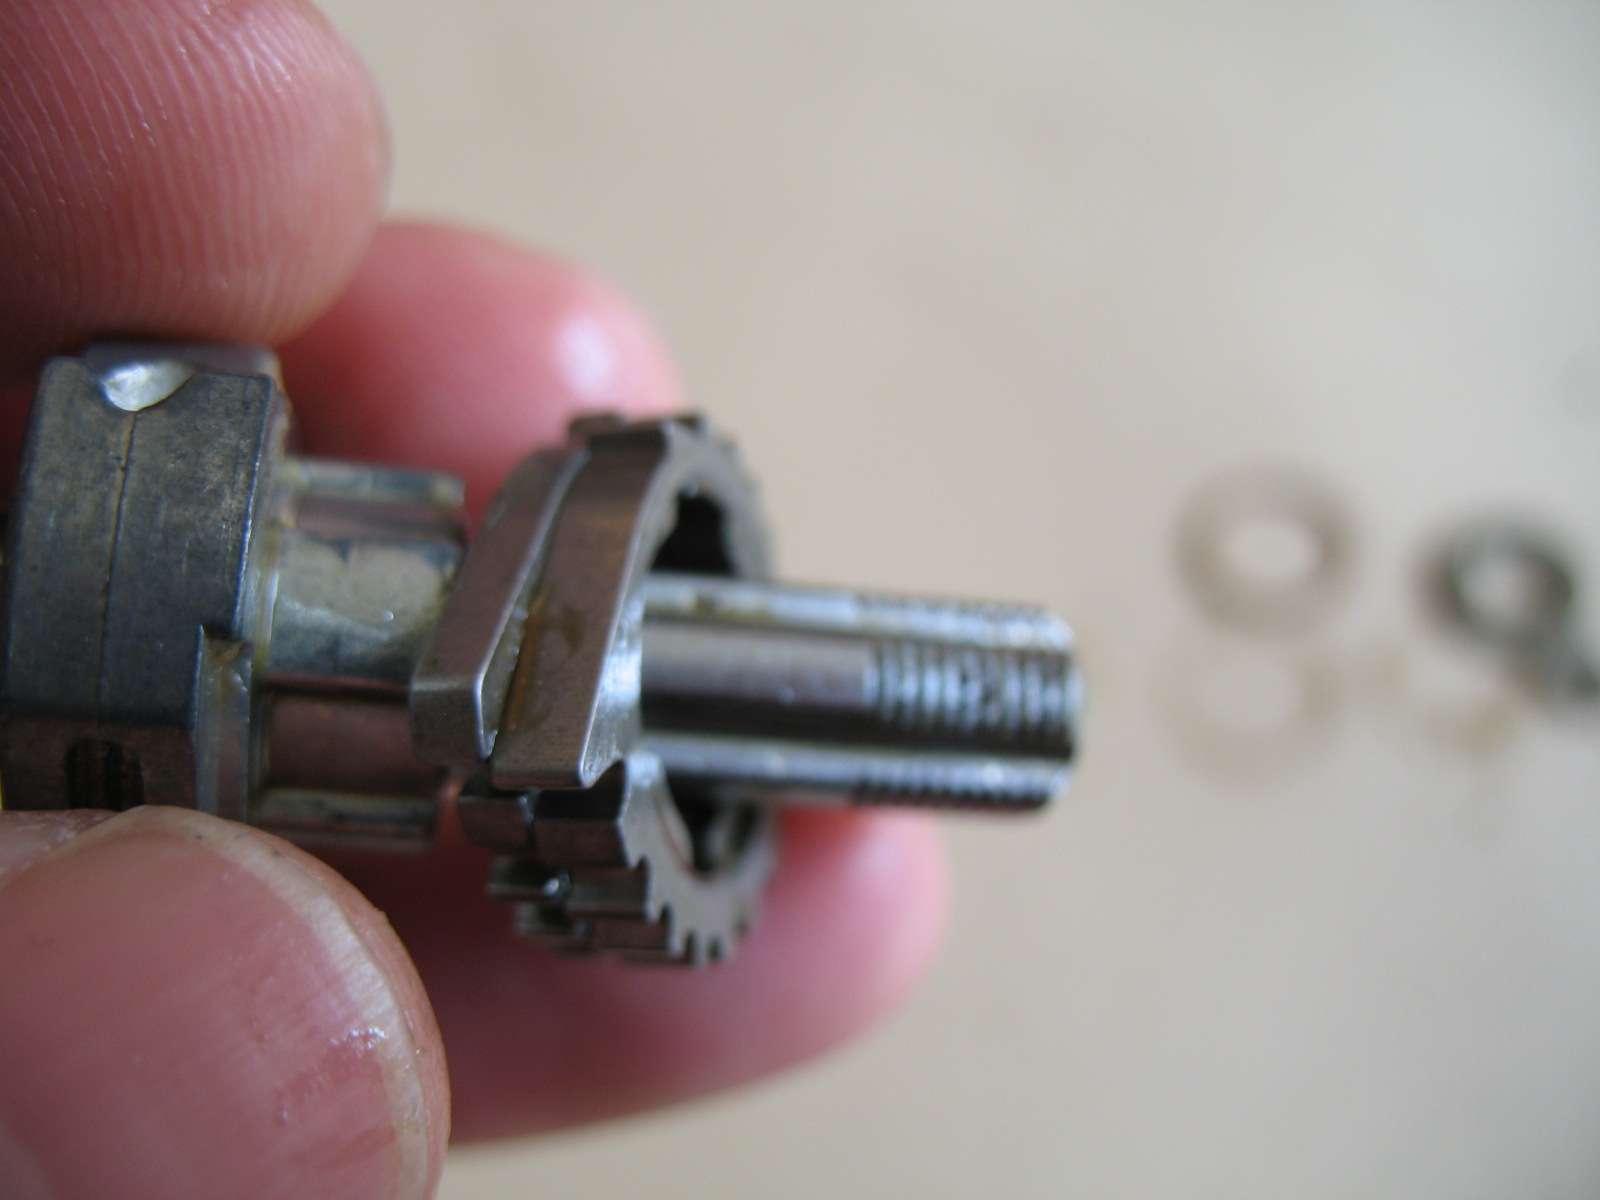
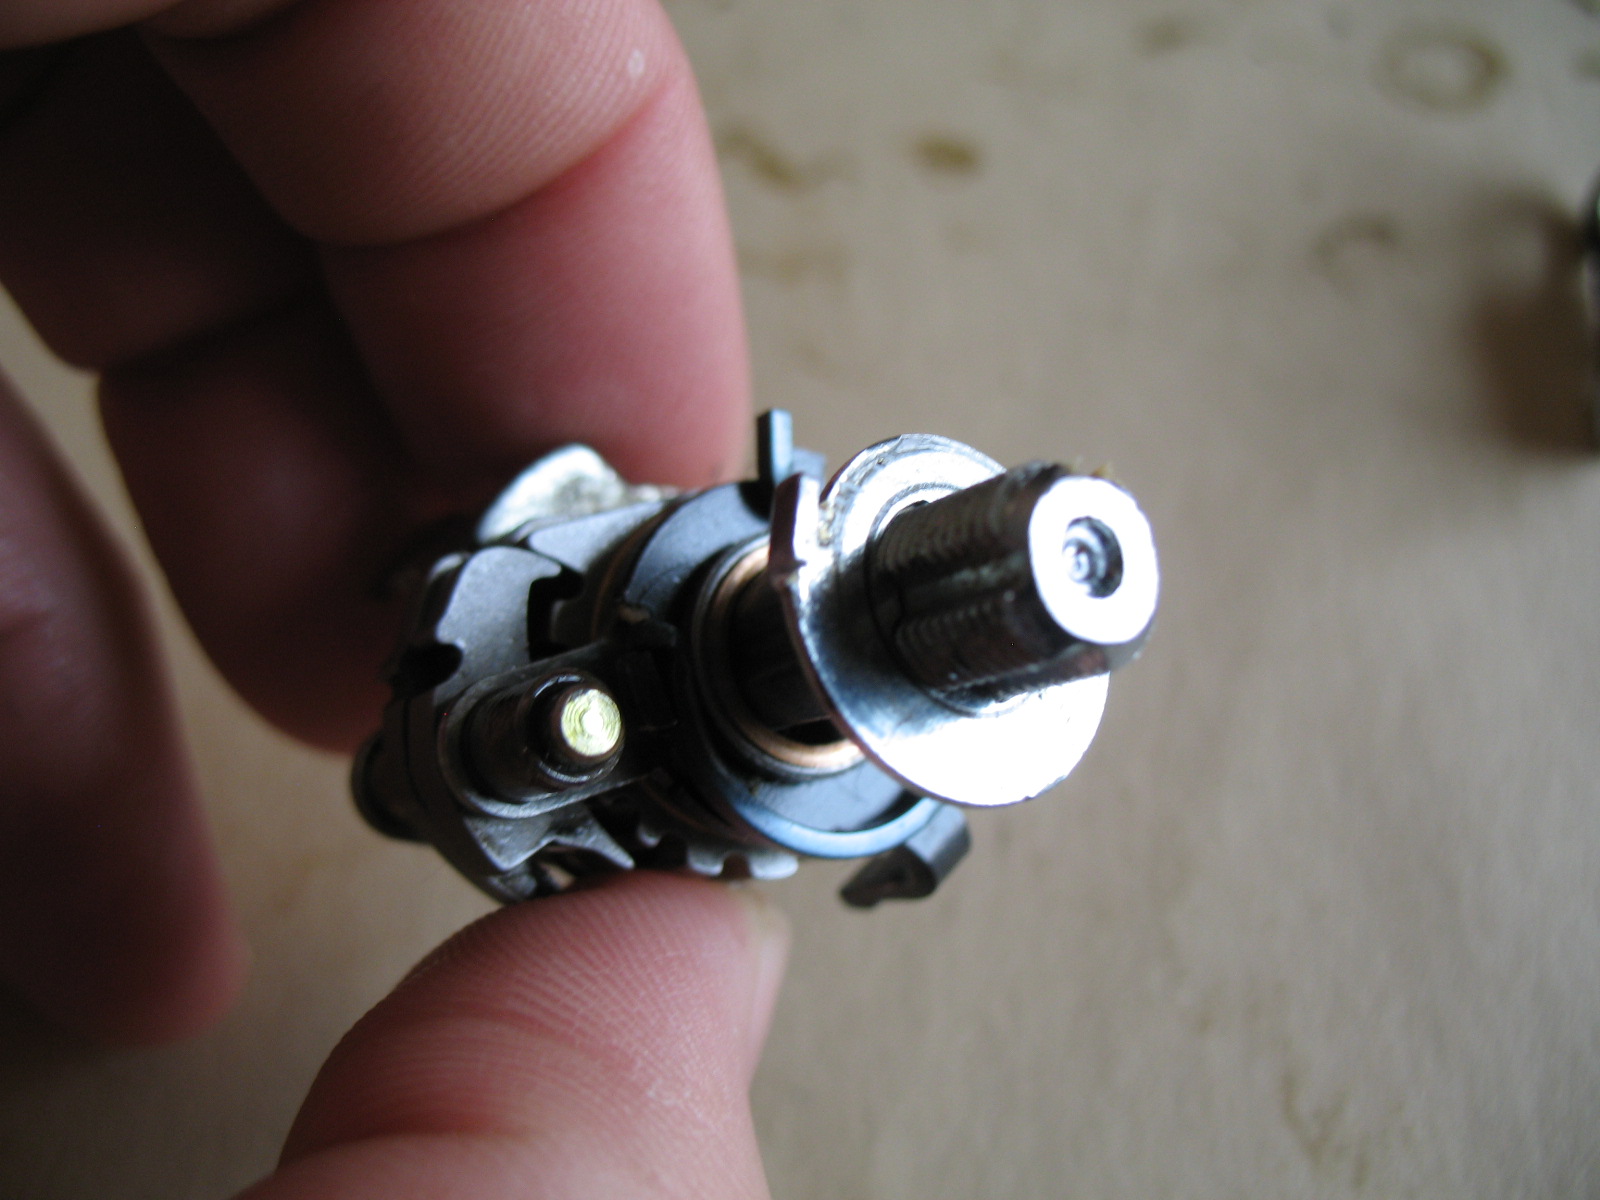
Next comes the platform for the long release pawls. This is the only piece to be added from the left. Again I load the spring with a small screwdriver.


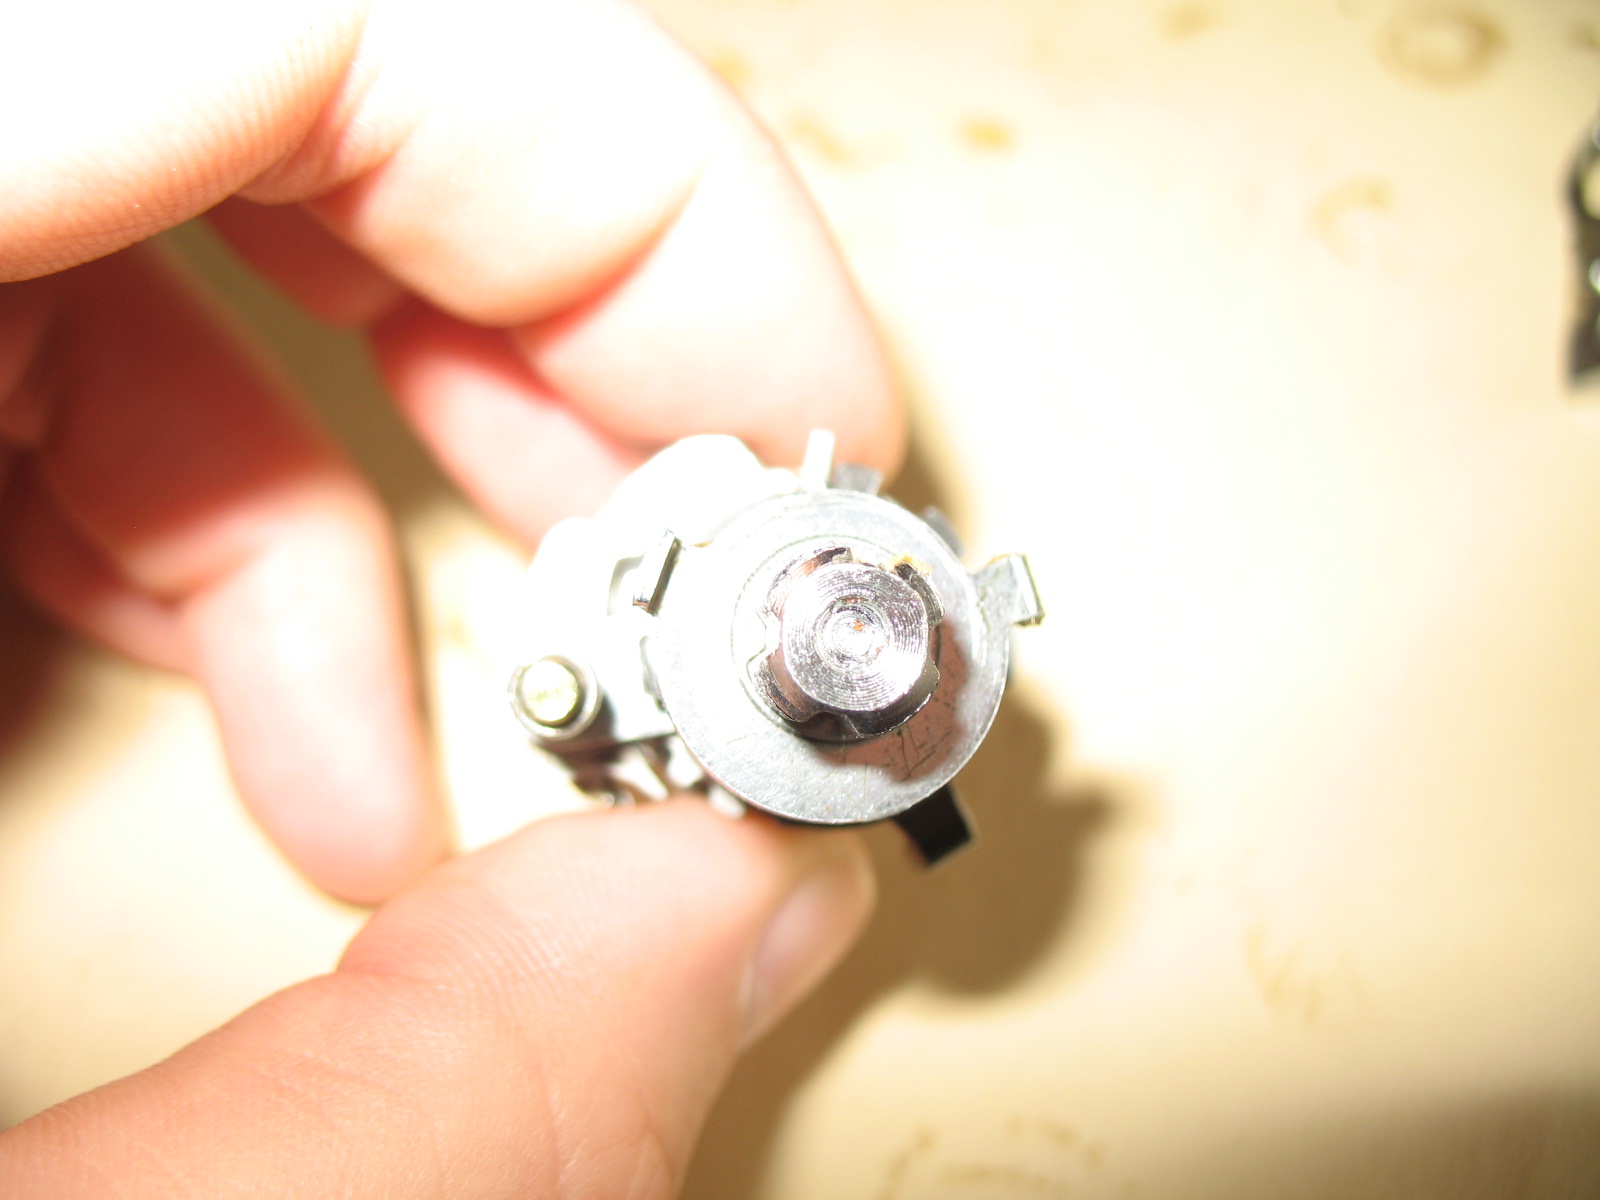
Great, now we add the brass washer and the axle platform. Notice that there is a washer and clip to hold the washer in place.

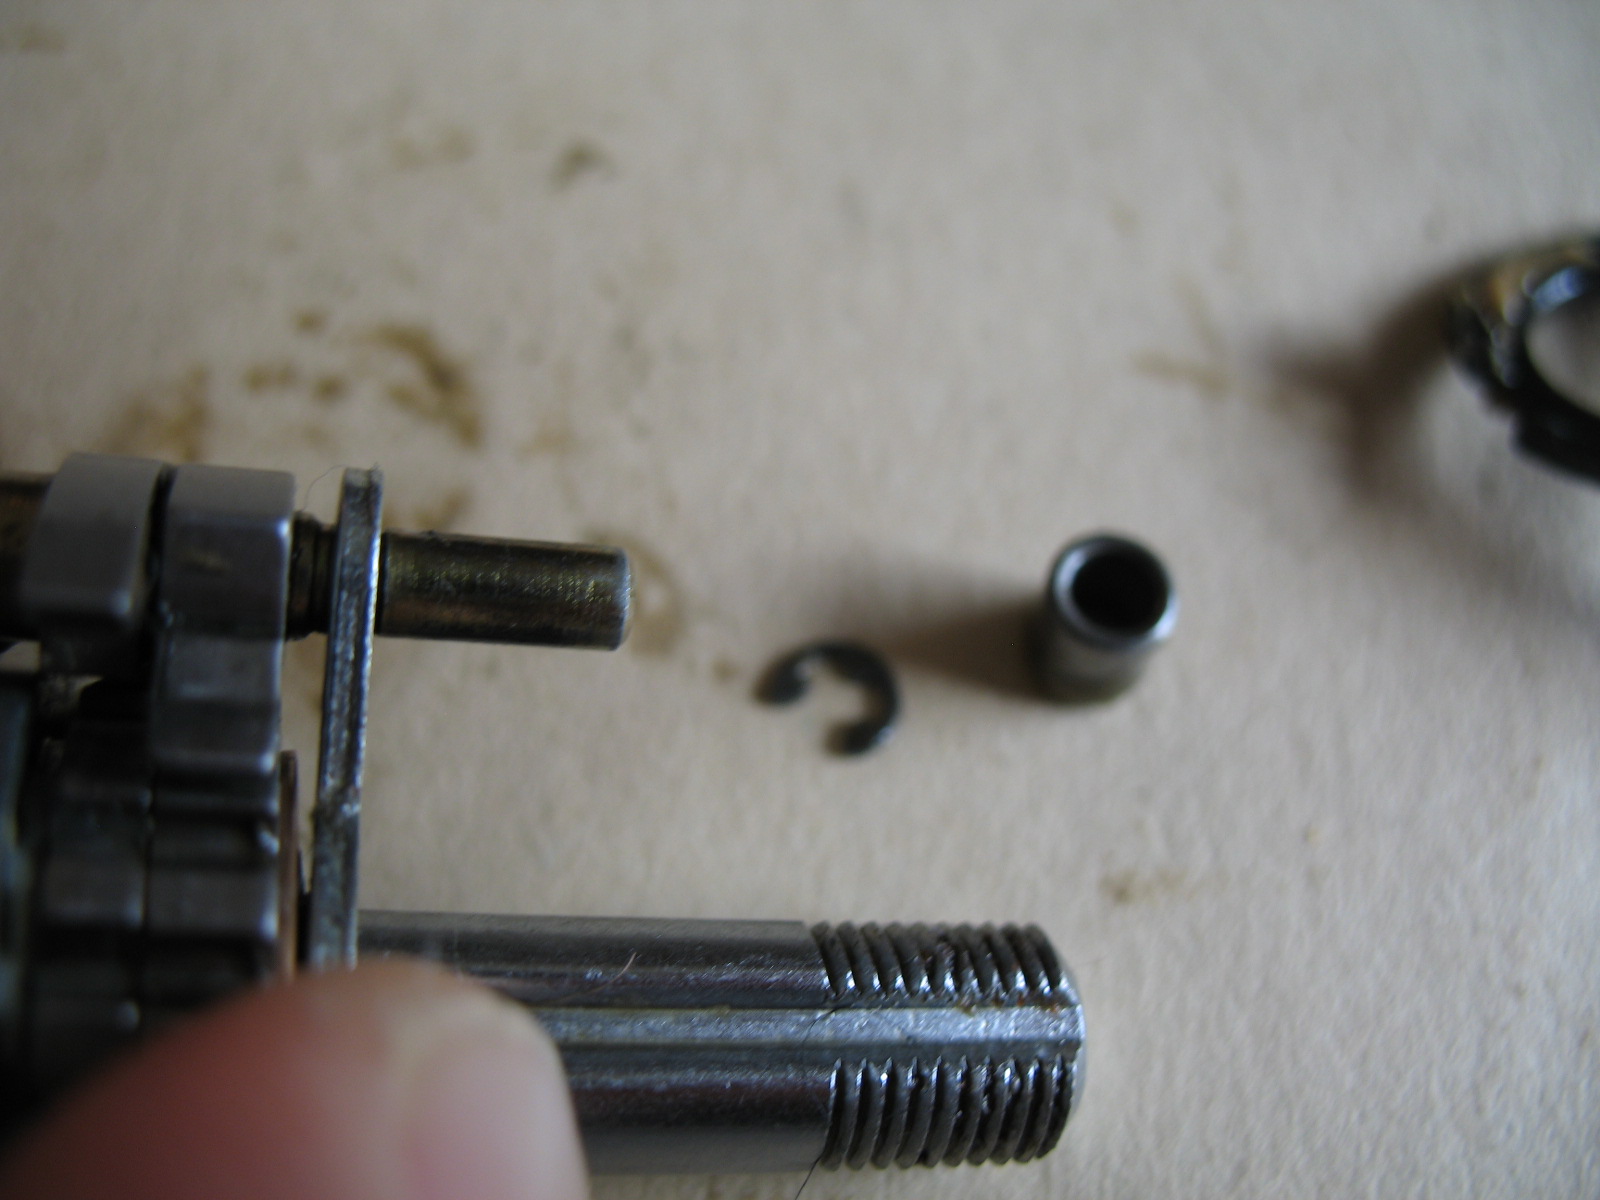
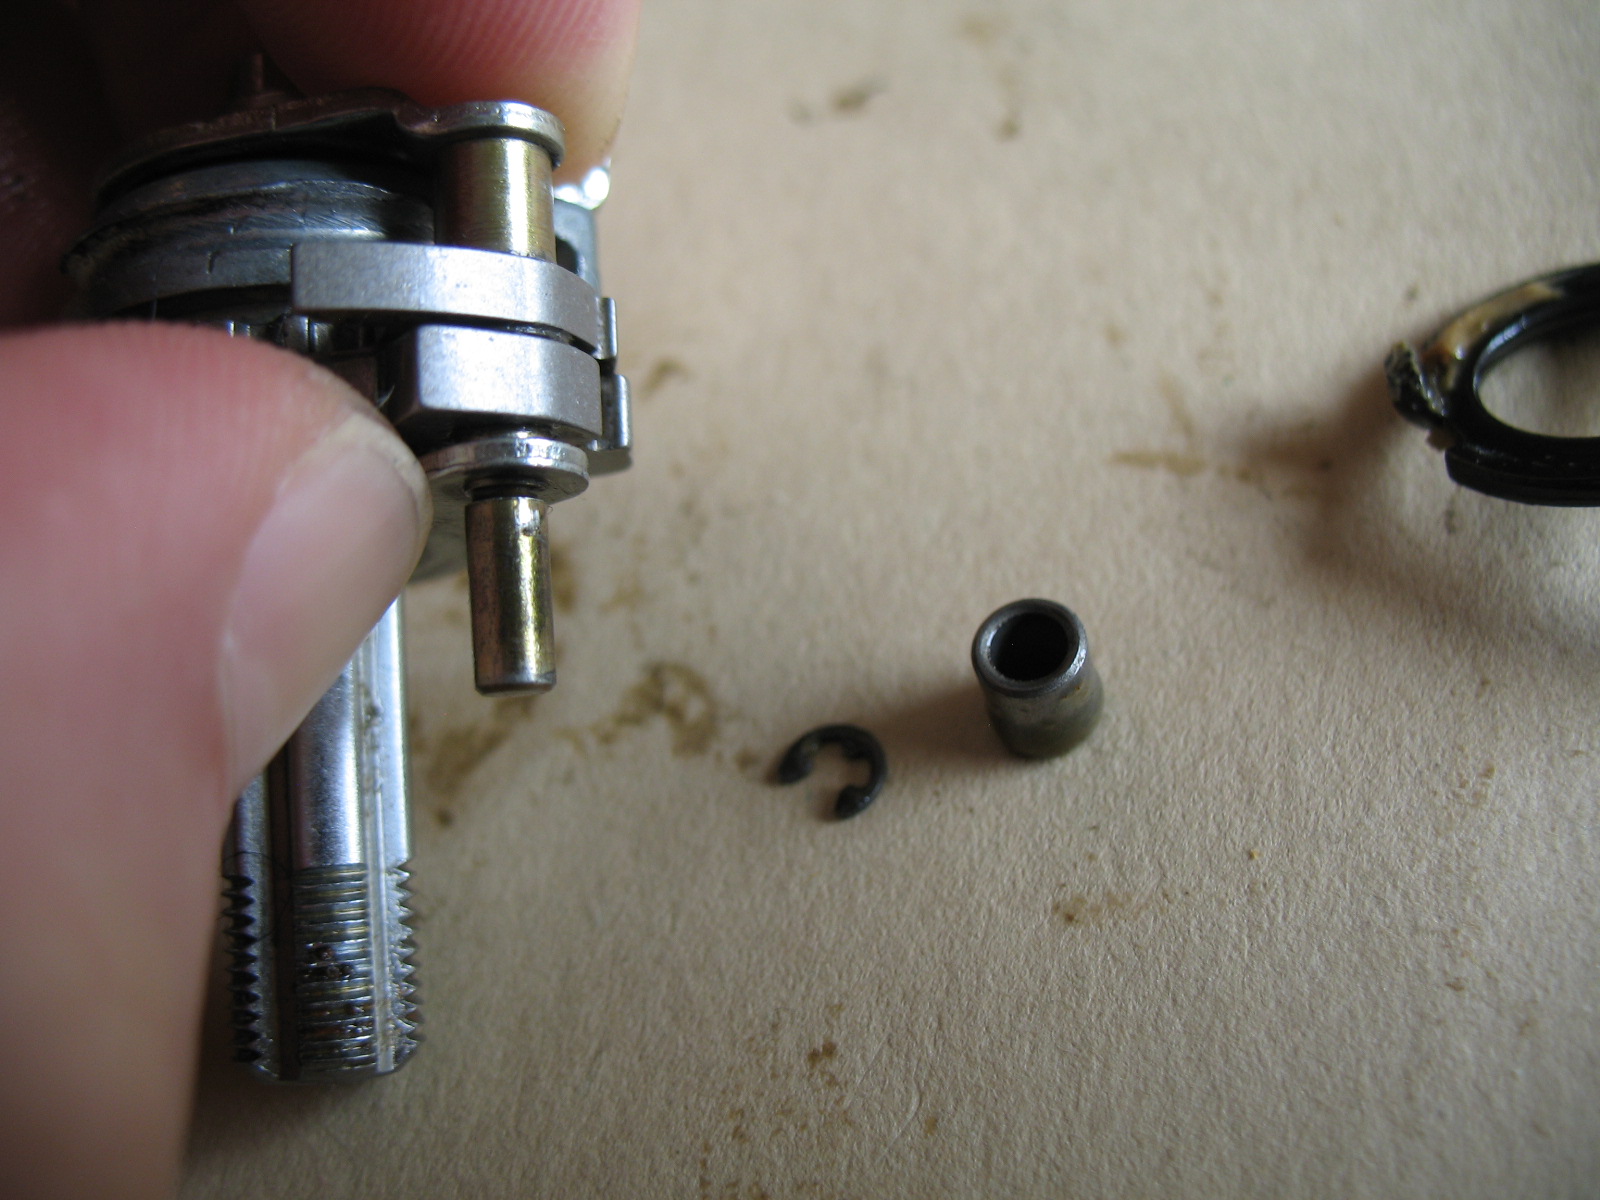

Once this clip is in place the first spring is nicely held in position. Ok… now we add the black release ring, centering washer and brass washer.


The release spring is loaded onto the black release ring as shown below.

Next comes a sliver colored platform that has tabs which catch the release spring. I took a z-axis shot to clarify the alignment.

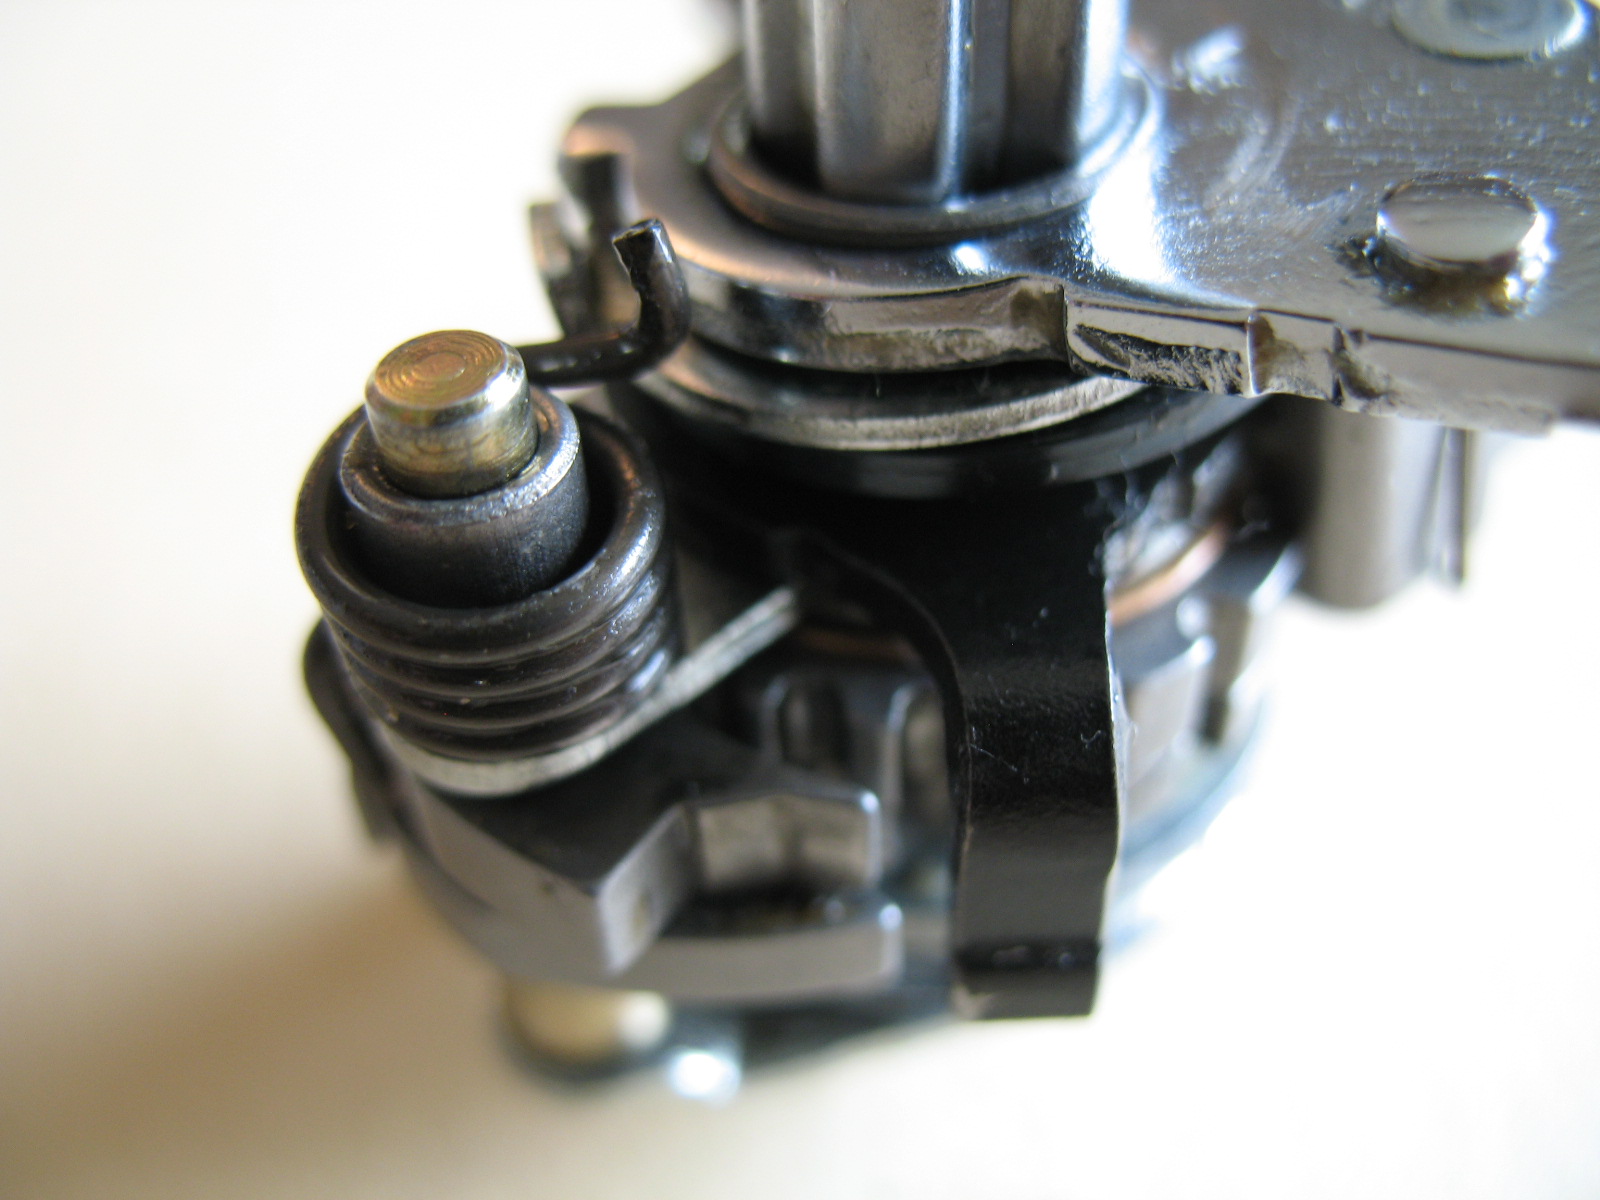
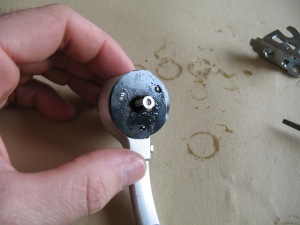
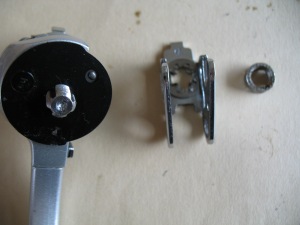
The next platform contains a pawl, spring and clip. I show them disassembled below, so you can the post you must lube before reassembly. The pawls should spring quickly and tightly on the pivot posts. Most shifters I have fixed have not functioned because these pawls were slow to swing into place. Once you have disassembled and thoroughly cleaned and lubed these posts you will notice that the shifters shift like new. Cleaning the posts and lubing them is a big reason why. After the silver platform with the pawl comes a centering washer.


Next you must add the pawl spring. This must be loaded so that it pushes down on the pawls. There is a grove that shows you where the spring integrates with the pawls.
After the spring is a sliver platform that aligns with the pivot post of the pawl spring. You see that the platform is correctly aligned when the pivot post neatly fits into the platform and prevents the pawl spring from slipping off.
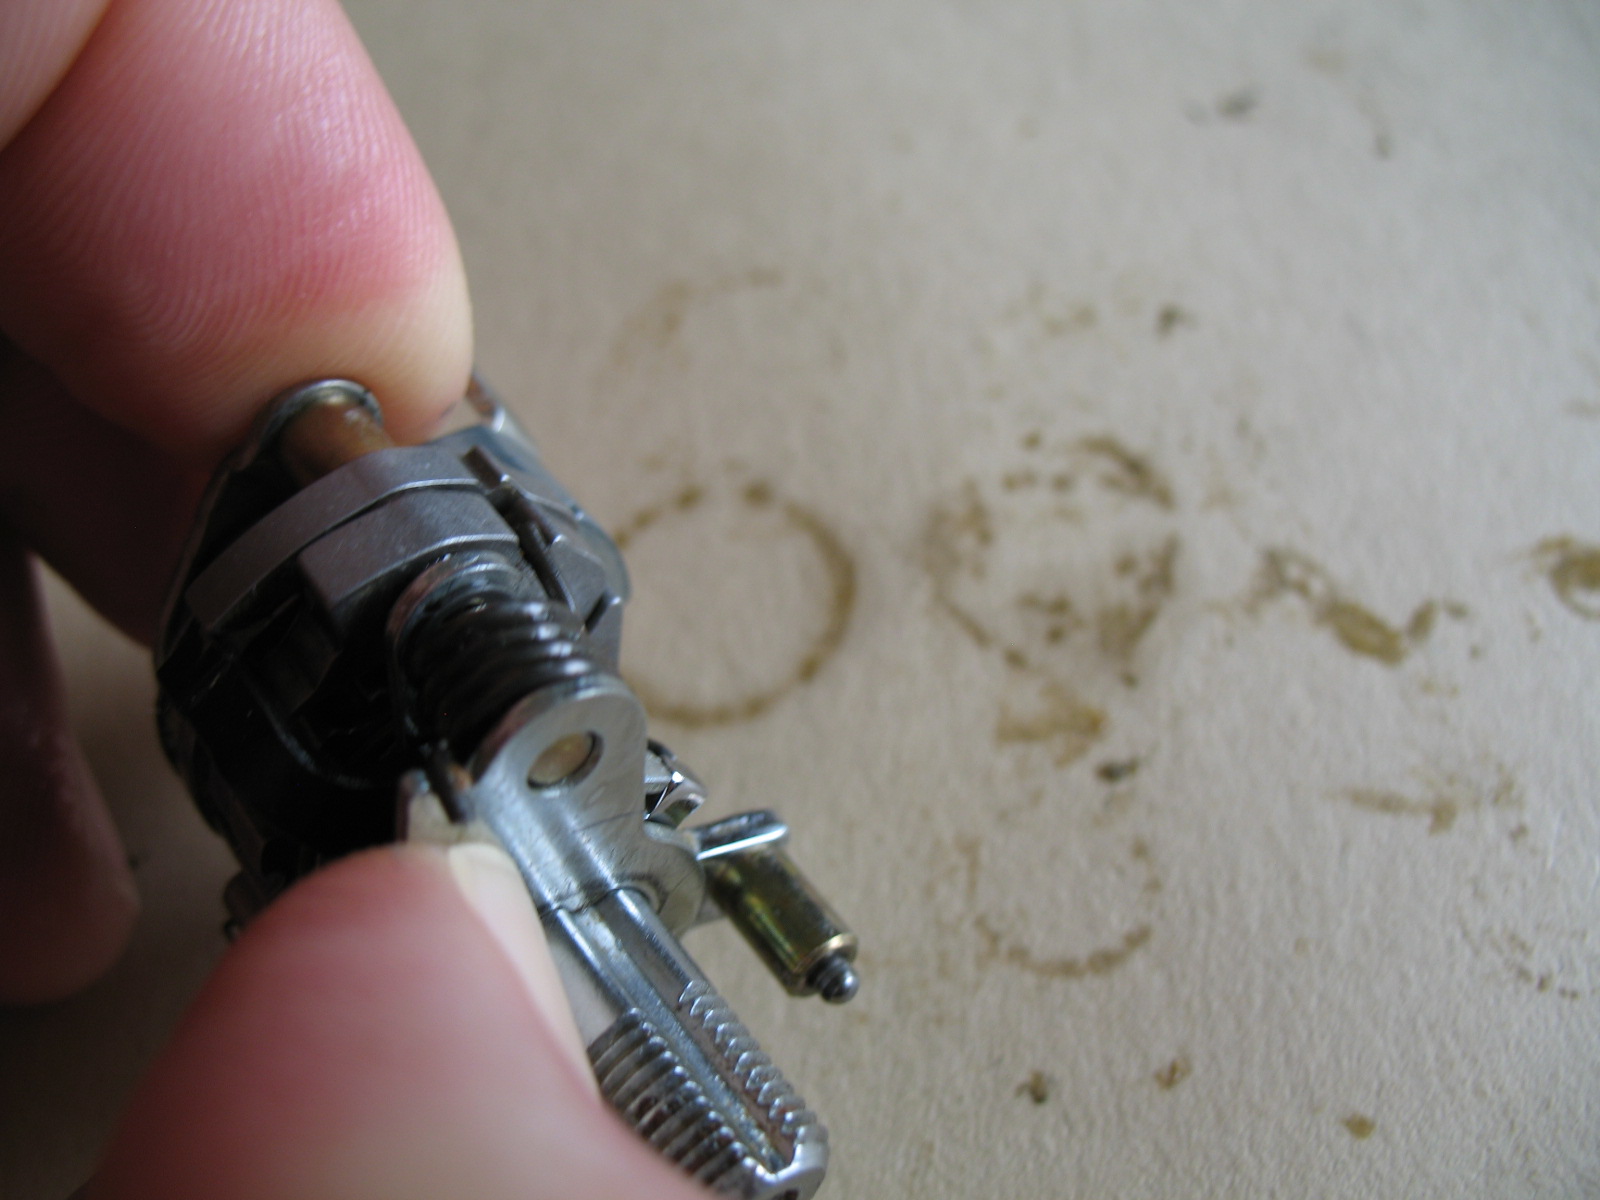

Now we will add the return shift arm. You must hold the pawl on the shift arm out of the way to assemble the arm. Remember to have the pawl loaded with potential energy using the spring.


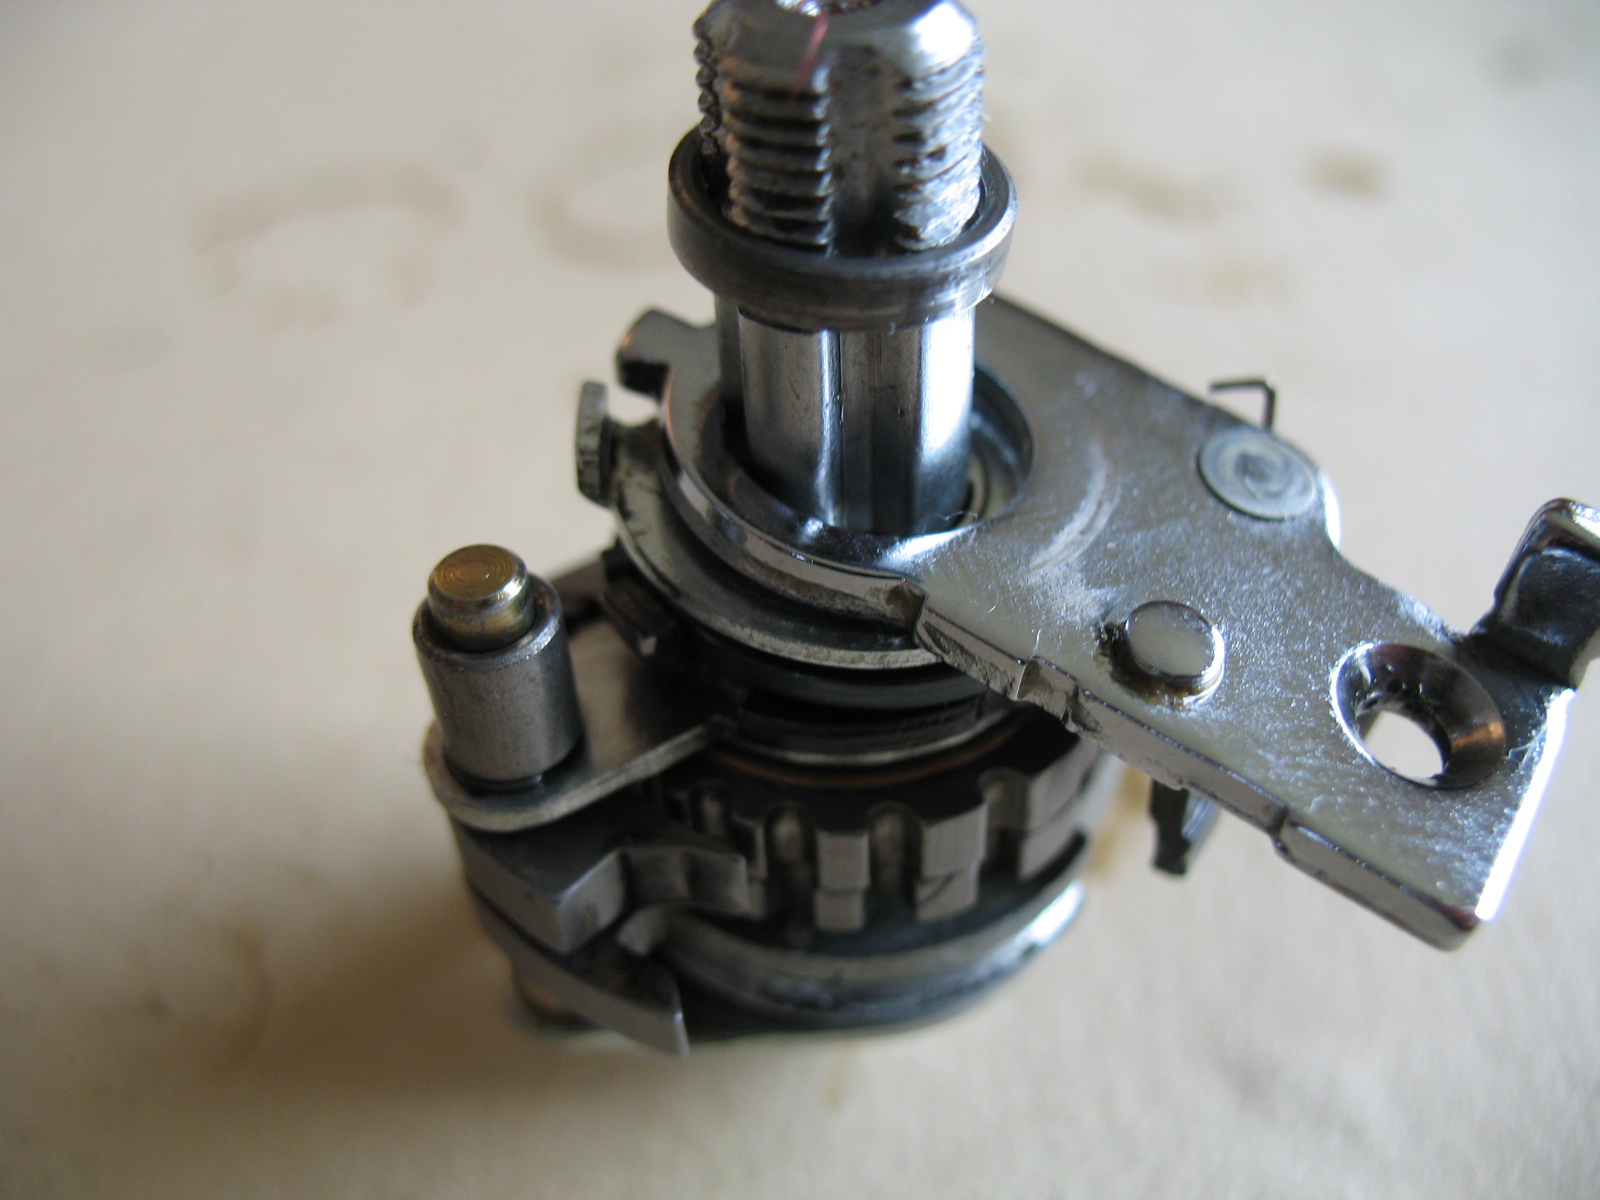
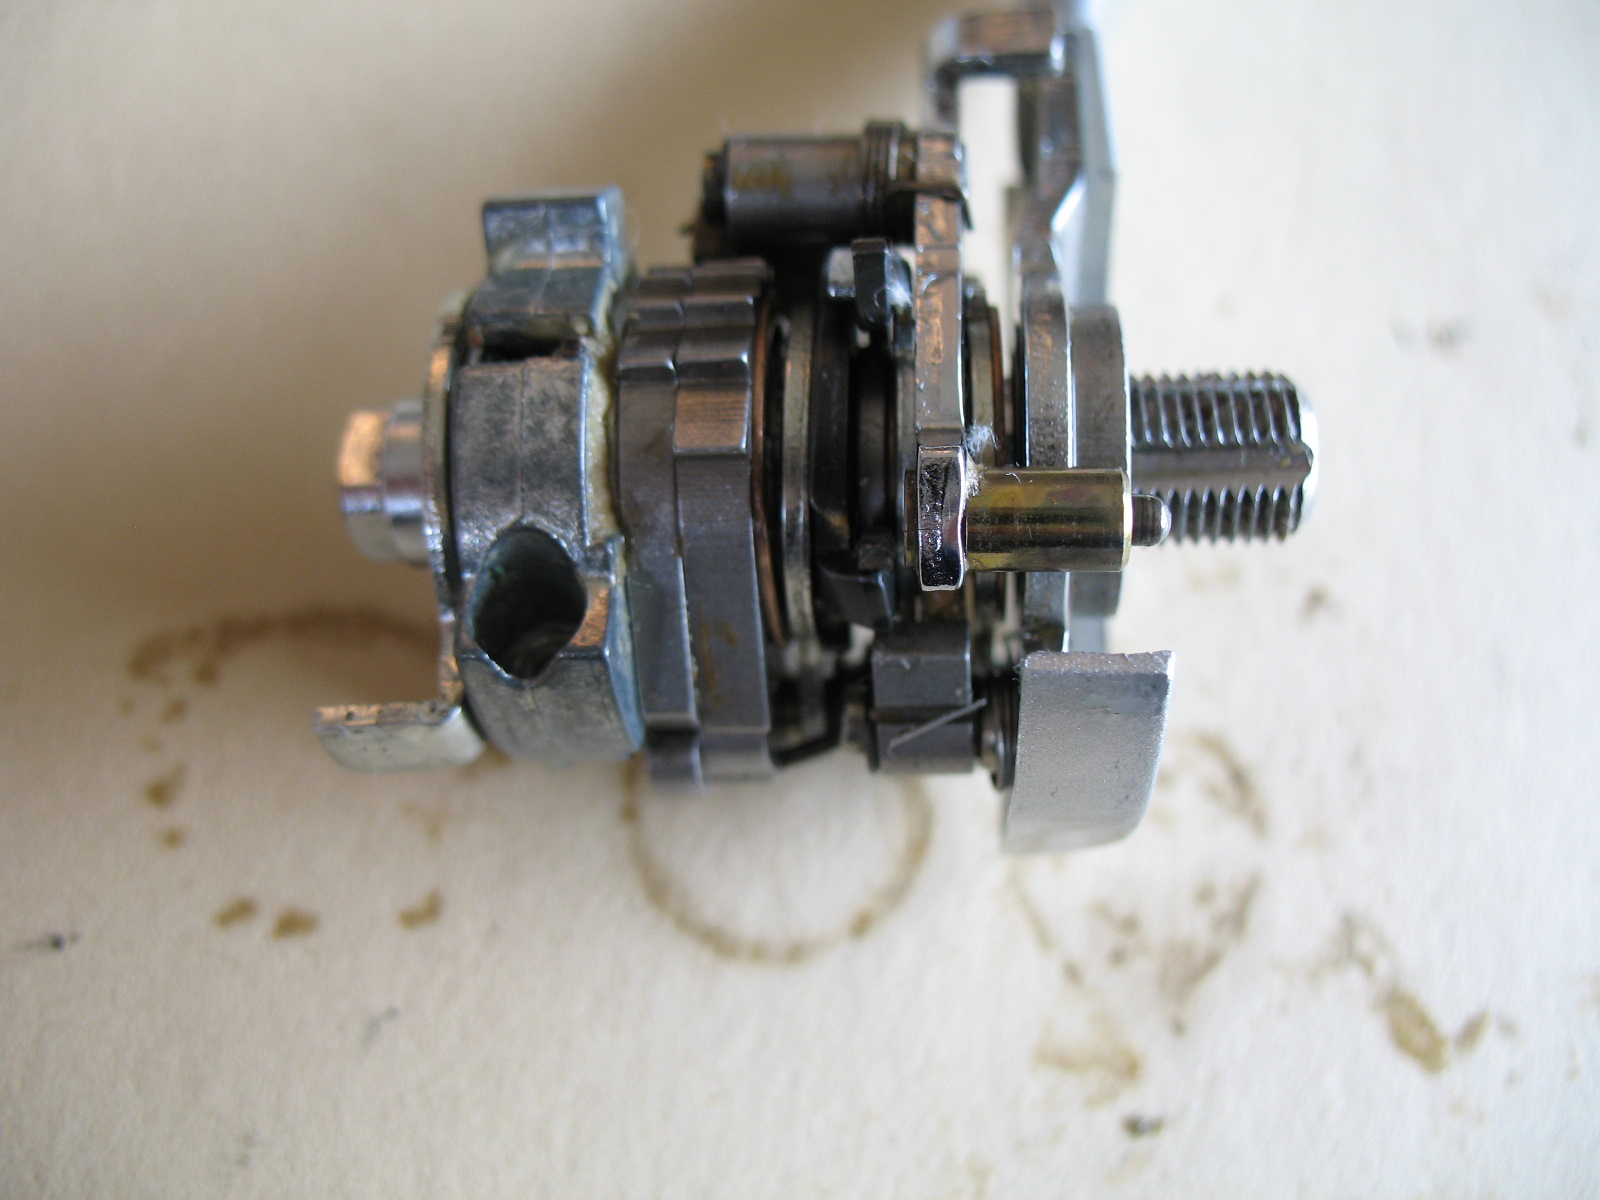
Here are a couple of shots for you to examine the correctly assembled shifting mechanism with the release arm in position.


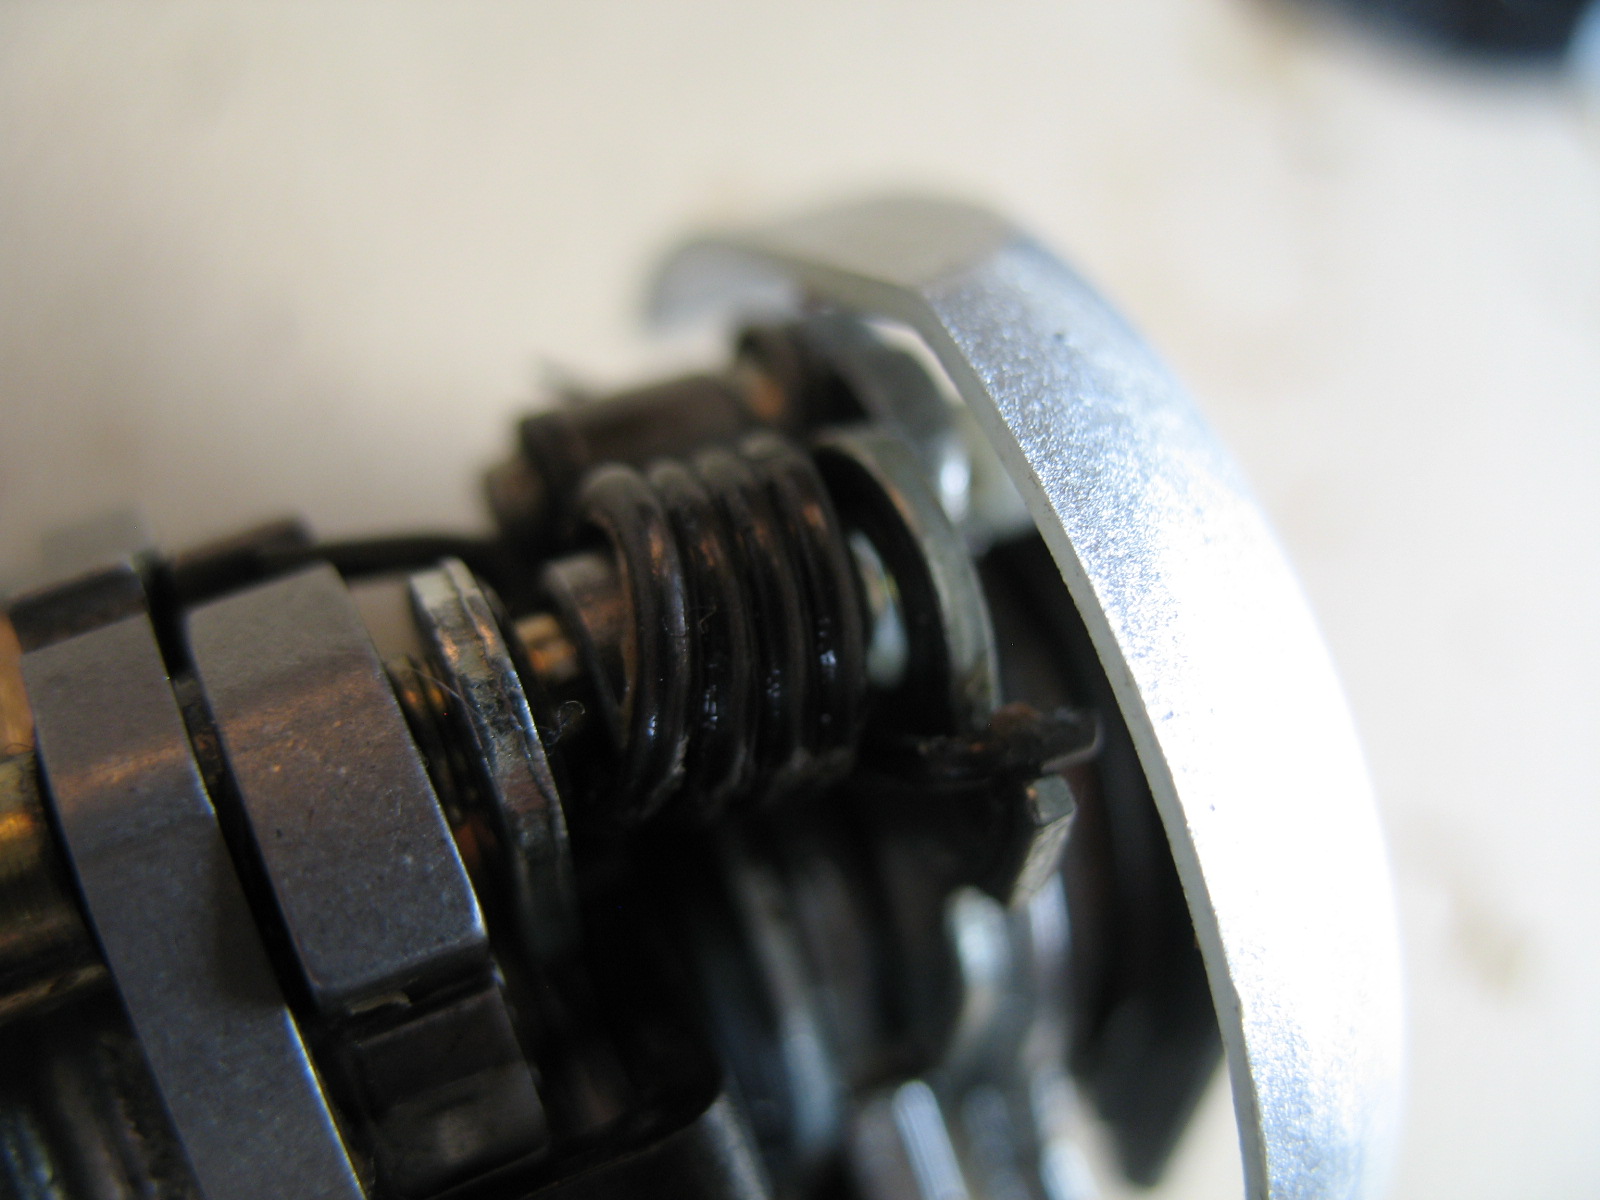
Now we need to load the return spring. This is much easier than on the left (front) shifter. Once the spring is in place I added the two washers, then grabbed the loose end of the spring with needle nose pliers and correctly positioned it.


Notice that the return arm spring washer has a bump that aligns with the shifting mechanism. Ensure this is aligned, and ensure that the return pawl spring post is still in the silver platform from above. If these are not in place then your shifter is not correctly aligned, will not work, and may brake or bend a piece.

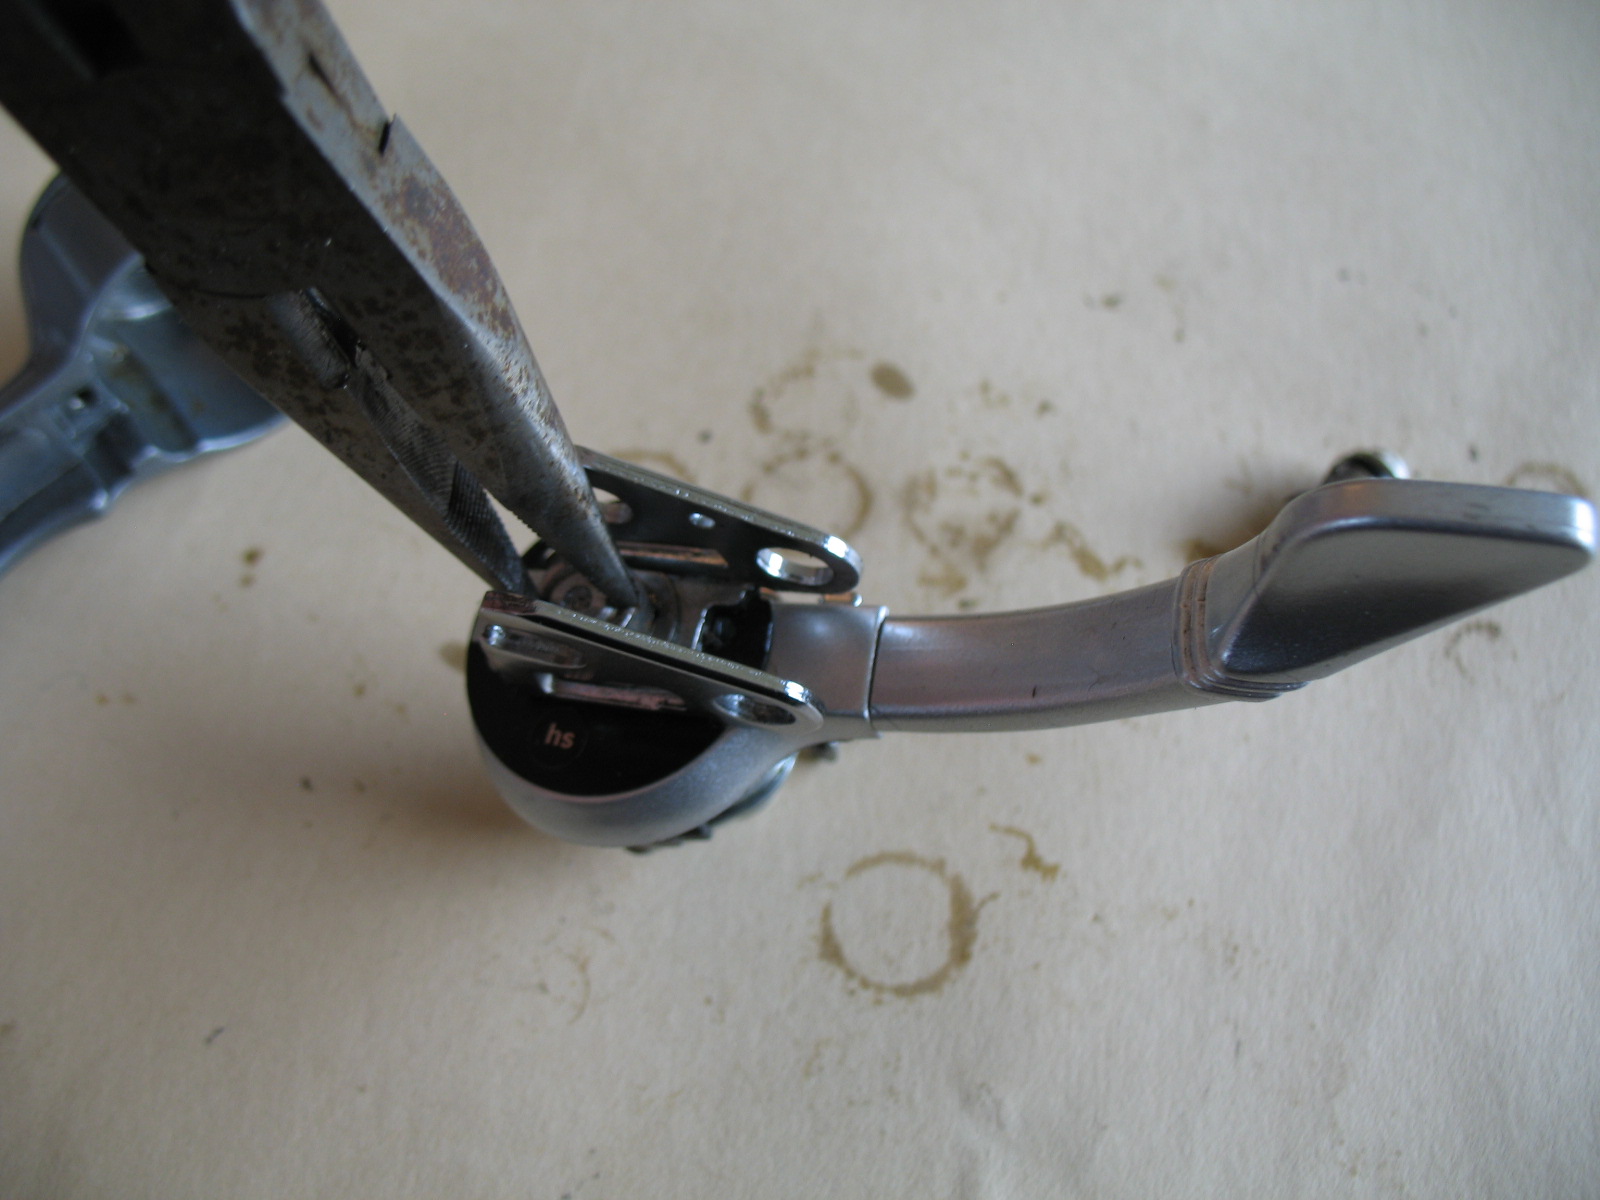
Once you ensure that everything is aligned add the brake cable stop holder and screw in the primary fixing bolt. I use needle nose pliers.
Next we add the upshift lever with the phillips screw, and add the brake cable stop.


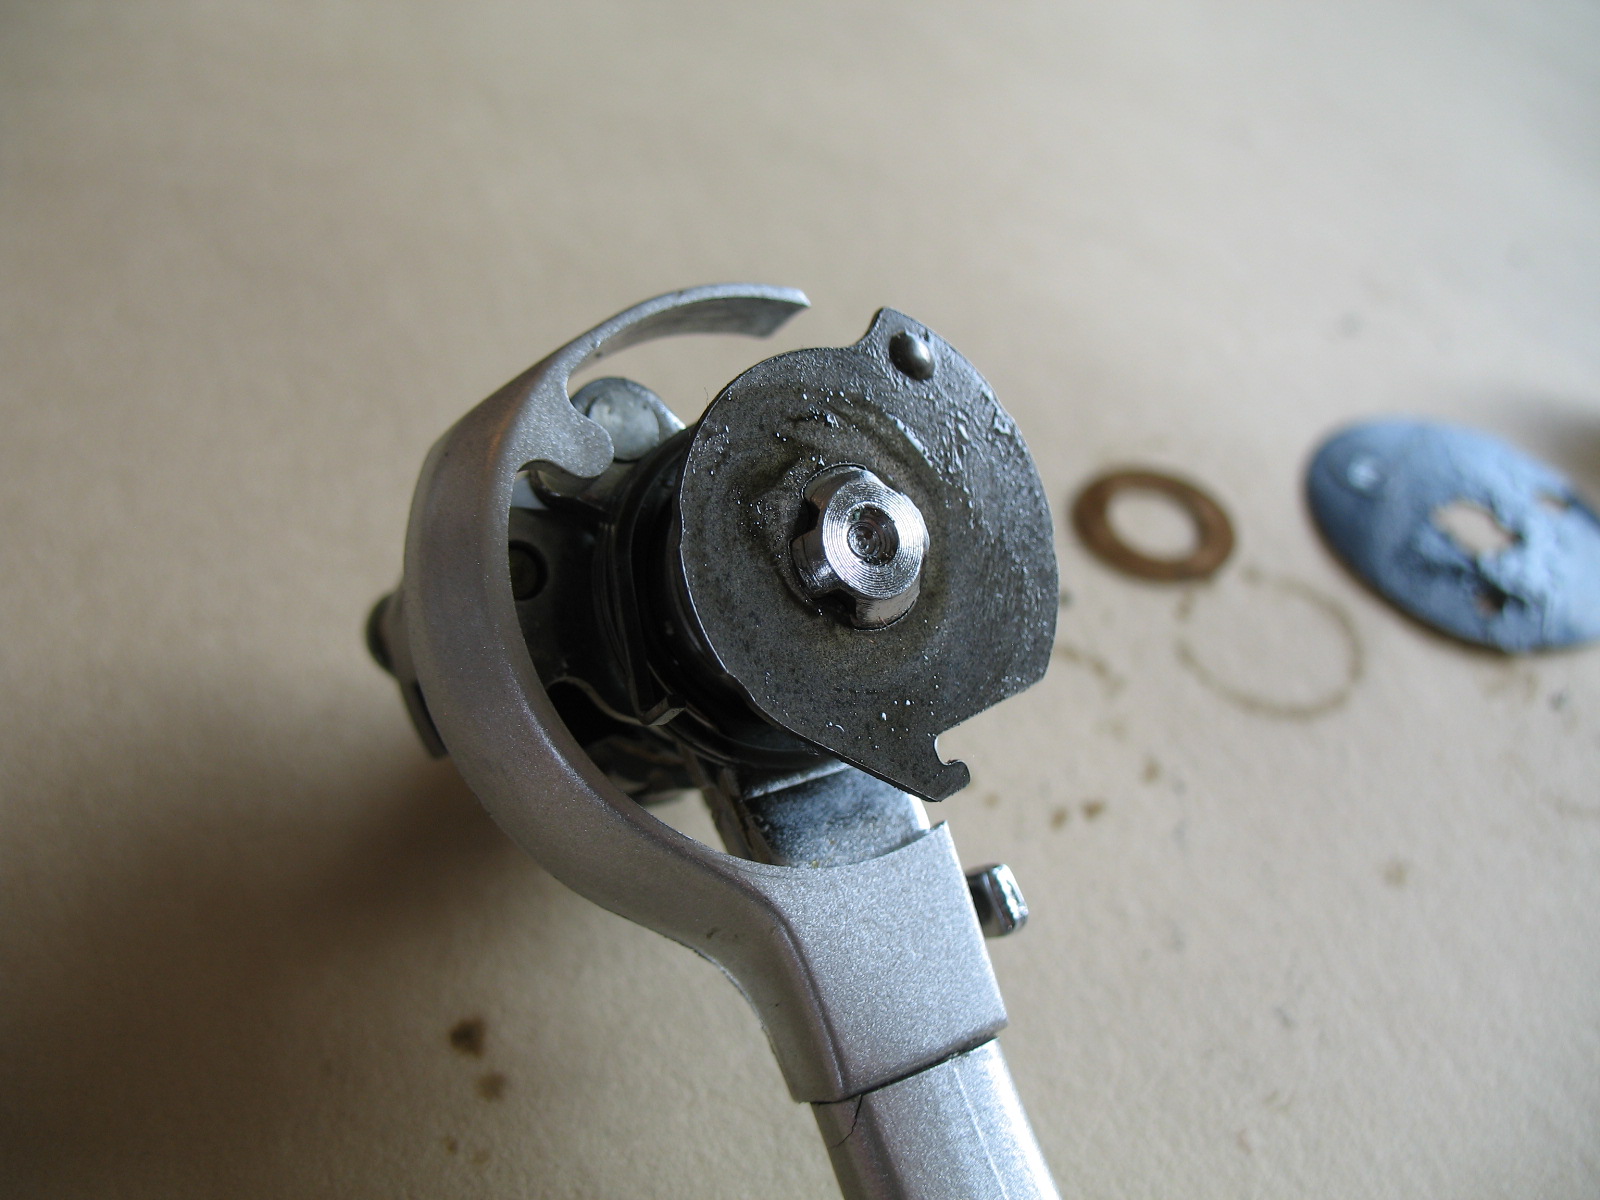
At this point you can test the shifter to ensure everything is working correctly. Once you confirm functionality we add the shifter face and the handle. Don’t forget the washer that protects the return spring in the shifter face. You will need an 8mm socket driver.


Finally we are ready to add the handle. Position the two black bushings, and align the brake lever spring. Slide the handle into position and use a metal punch or screw driver to correctly position the brake lever spring. Than add the pivot pin and fix it in place with the 2.5 mm hex screw.


That is it, you are done! Time to take a final look and then test.
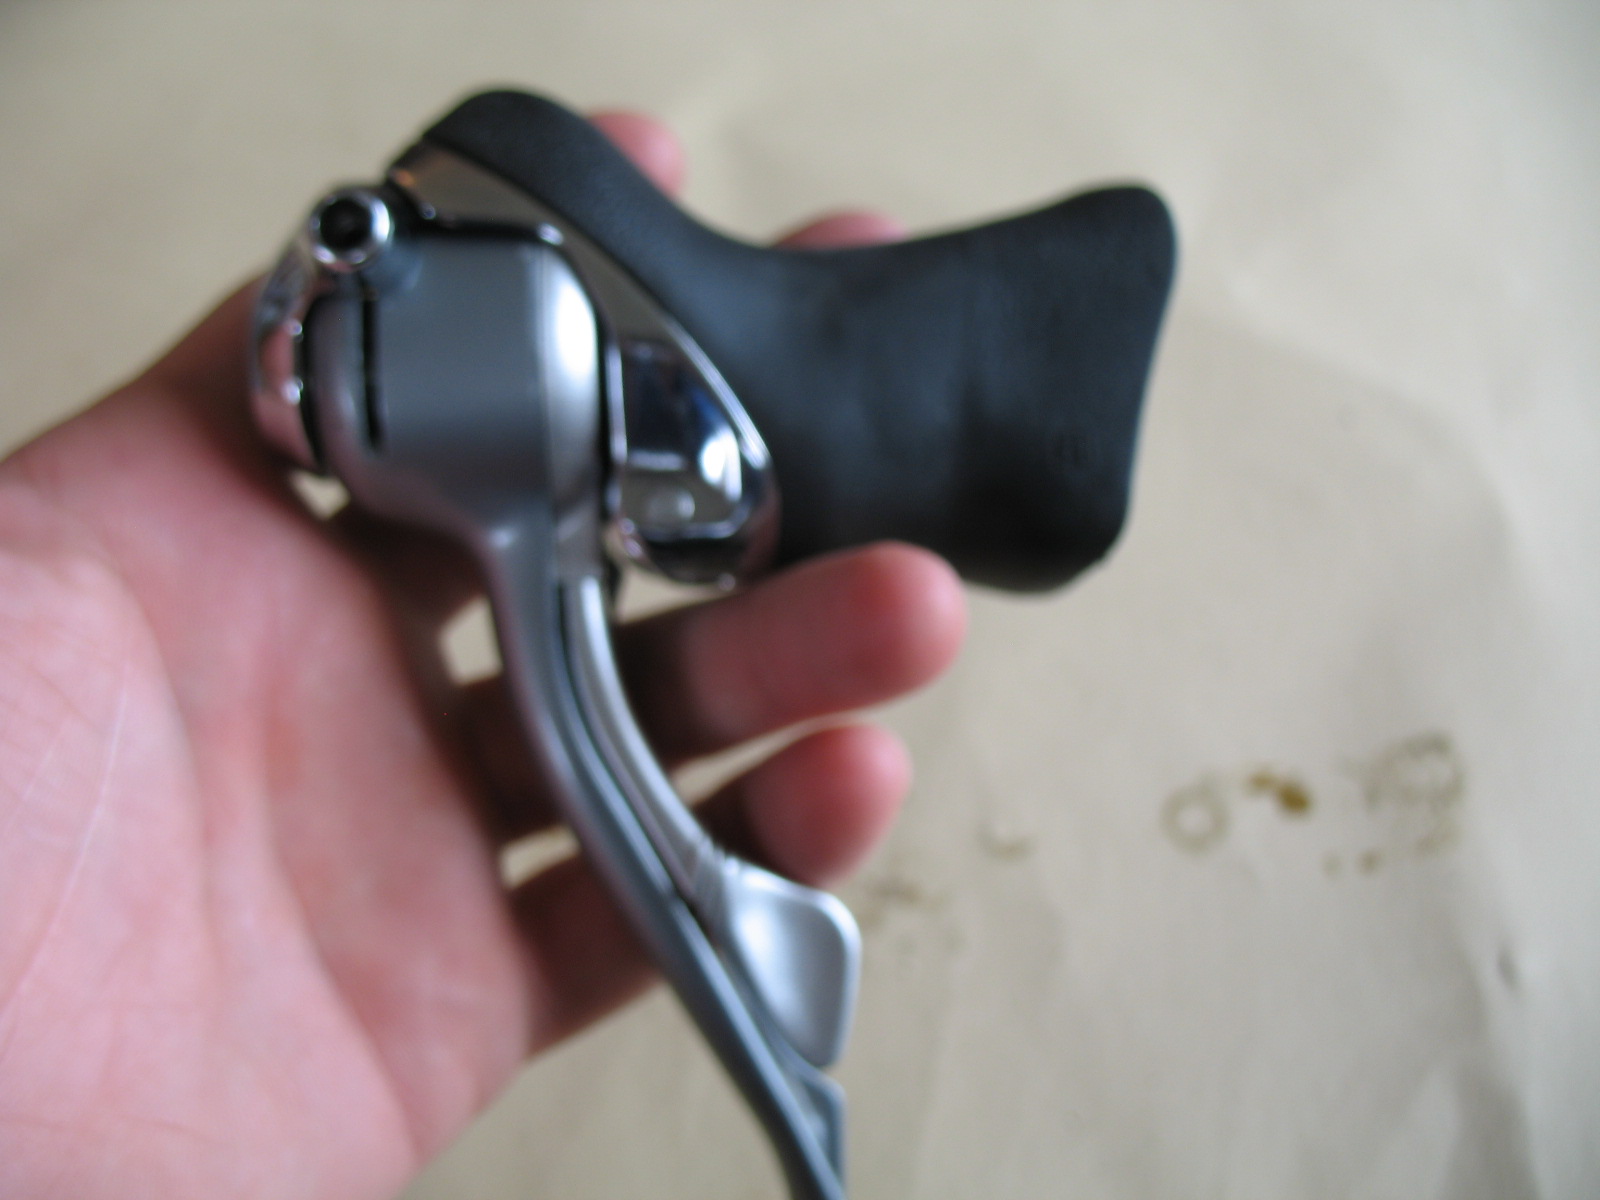

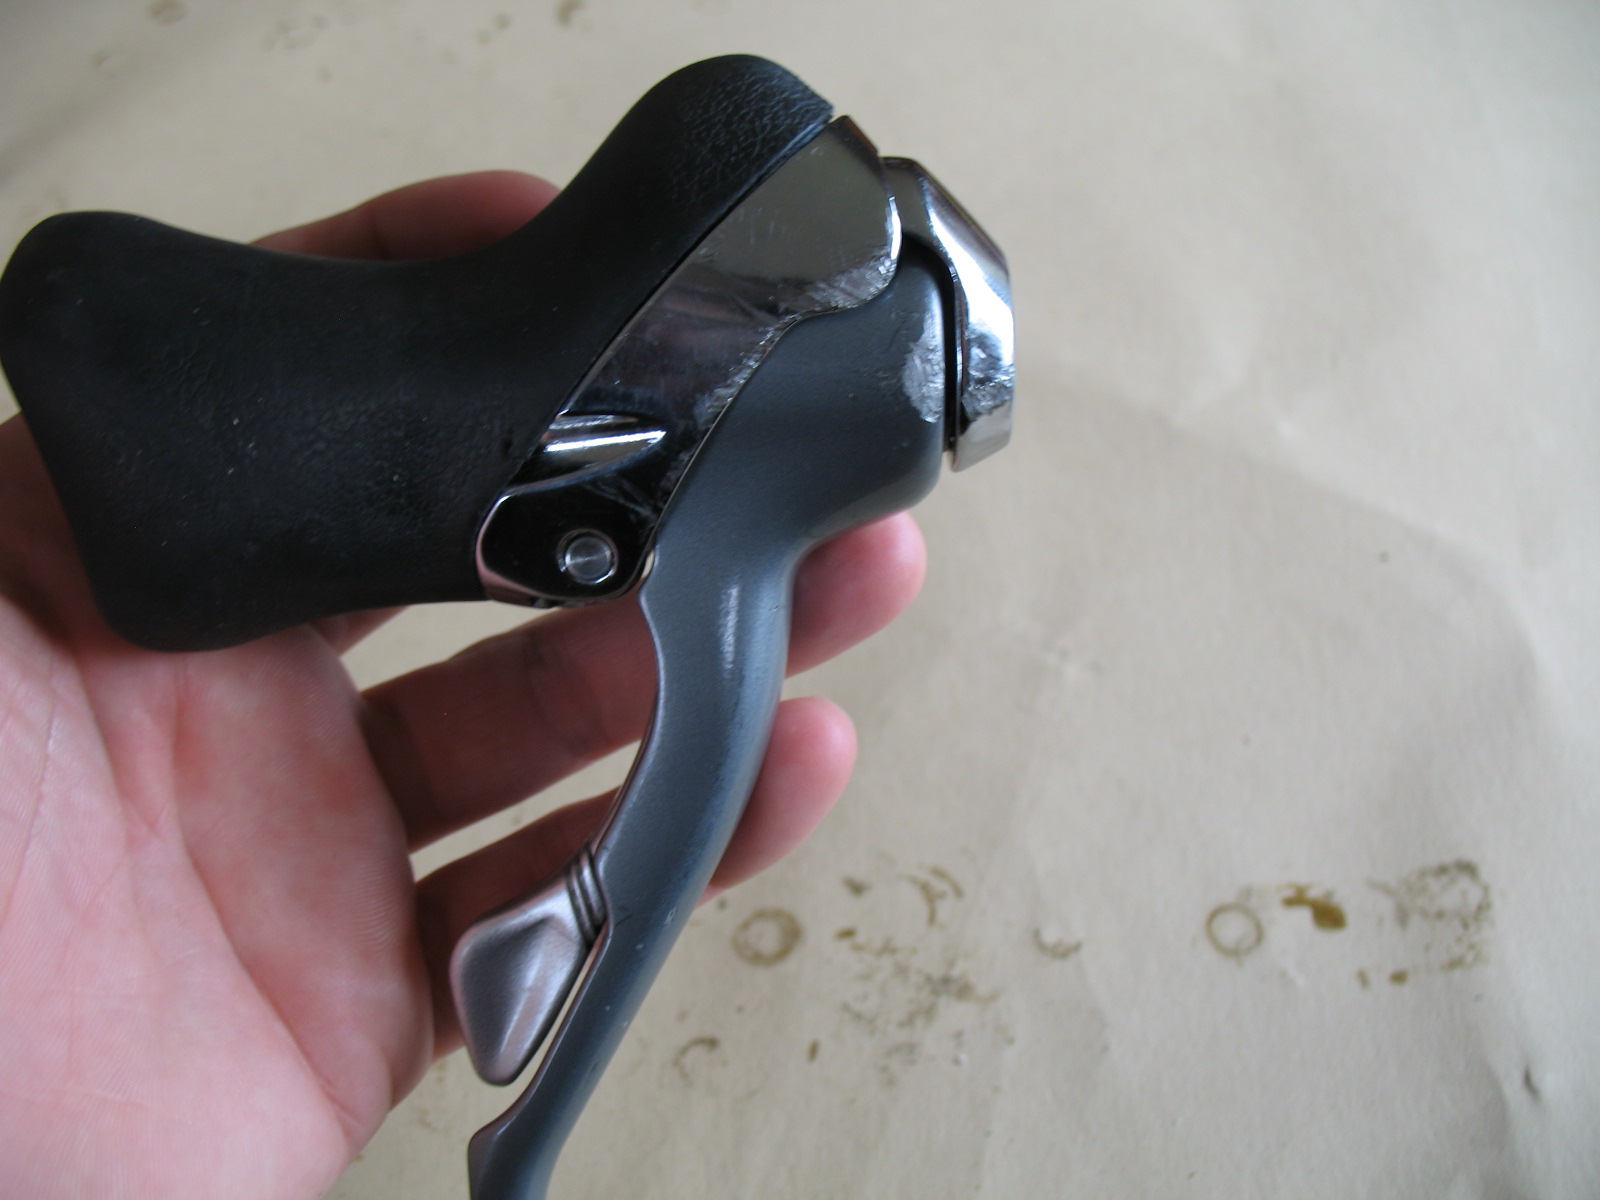
Clean and crisp, this shifter sounds and works perfectly.

hello,
i am impressed by the detail you put into this tutorial. i have followed every step of your tutorial but was not lucky enough to get my sti repaired.
i think there might be something wrong with the pawl spring.
the pawl just lays on the platform, there is no tension and i am not sure if that is supposed to be this way.
the main issue seems to be the pair of long release pawls though, those don’t move an inch. there is severe mechanical drag when i push either lever.
the pawls don’t lift up. the whole thing feels blocked.
are you familiar with this issue? i’d be really, if you’ help me out here:).
other than that this blog is really, really great.
i’d love to see you dissmantle and rebuild an sti on youtube.
cheers and thank you,
stefan
Hi Stefan-
Often the pivot pin is gummed up in a way that cannot be seen until you remove the pawl.
Have you removed both pawls, cleaned and lubed the pivot pin, then replaced the pawls? I’d do that as a first step. Be careful not to bend the return spring when removing the pawls– it is a delicate spring.
After you replace the pawls they should move freely about the pivot pin.
If this is not the case, then you may graduate to doing the same thing again with a solvent such as WD-40, as a second effort to clean the surfaces.
If the pawls still don’t move freely, then use a 220 or higher grit sandpaper to LIGHTLY sand the pivot pin.
Email me again if that doesn’t solve your problem.
Remember to re-grease before assembly. I like a spray on lithium grease.
Good luck!
wow, you are fast. i will keep you updated.
thanks again.
hello,
so the sti works again. turns out i only had to attach the lever to have enough force to actually shift the gears.
thanks for your help. this blog is really really awesome.
and i really think you should do a proper video tutorial.
or i will do it, by courtesy of you and your blog (hopefully;).
solong,
stefan
Great to hear that you got it to work again.
I usually notice a “rough” or even a tiny bit of “gritty” action in the shifter after I disassemble, clean and reassemble. This is normal. Notice that the majority of the pawls and teeth are cast, not machined stainless. Be sure to lube the entire assembly when re-assembling. Once you add the brake and shift housing the modular action of shifting should feel smooth again.
I’m glad that this was helpful. If you do create a video, please send me a link, and I’ll post it. Or you can just post a link in the comments.
i will practice a little before i’ll make a video:).
one more thing:
do you know where to find the special shimano tool that allows for easy disassembly of the main bolt? the one with the four notches, that keeps the whole thing together. the needle nose pillars don’t really work for me the way i hoped and the wd40 treatment doesn’t show much effect either.
also, what tool are you using to get this small clip back in place > https://shimanostioverhaul.files.wordpress.com/2013/03/img_6851.jpg
shimano got an e ring tool specially made for this purpose.
Hmm… I don’t know where to find the 4 prong bolt driver. I found that my needle nose pliers worked very well, but I agree that it is not a graceful solution. Do you have access to an angle grinder (https://en.wikipedia.org/wiki/Angle_grinder) or Dremel tool (http://www.dremel.com/en-us/Tools/Pages/default.aspx)? If you do, then I’d just fix a socket in a table clamp, with driver side down, and bolt-side facing up, then remove material until you have the correct 4 prongs to remove the Shimano bolt easily. To me it looks like a 10 min task to build a tool that will work perfectly for years. The cost would be the cost of one socket, so $5 at a shop and $0.50 in second hand store or garage sale. Worst case scenario you could use a file. It would take 20 min, but you’d have a perfect tool.
As for the small clip… I hold onto the outer edge of the large middle flare with needle nose pliers, and simply push it into place. It usually takes less than 10 seconds to do.
I hope that helps!
i will give the socket idea a try. this is most certainly going to be interesting. 🙂
Thank you very much for your fantastically detailed instructions, especially the large photos that you used. Through these, I was able to disassemble then put back the front right shifter with relative ease, just with 1 small mistake along the way (in the 8th row of photos, didn’t quite correctly position the notch on the black release ring vis-a-vis the black release spring, but fixed it later on). Took me less than 1.5 hours.
Now the problem with my shifter turns out that there’s an abrasion that’s formed from overuse in the middle of the release pawl, at the very spot where the pawl is supposed to “push” the mechanism (to shift to a smaller cog). It now cannot push anything, and instead goes over the notch (as if the spring is missing but it is not). I will now need to look for the part somewhere.
Costa-
Thanks for your feedback. I’m very glad to hear that this was useful for you! Good luck with the overhaul. Best- Tyler
Thanks for this guide!
I believe I have revived my right shifter based on this guide. These STI grips were once in 1995 the pride of my bike so I am quite happy to have it working again.
Three details I noted:
1: One of the parts in your guide is silver. In my shifter it is black. So I guess Shimano made a small variation
2: I asked the mechanical engineer at work about this shifter. He recommended the use of white Teflon grease for this, so that’s what I used. Right now it seems to work perfectly. We will see in some years how that age?
3: The reason my shifter had failed to my believe is the grease on the pawl on my return shift arm had gummed up. If you want to put more work into this guide, it might be worth mentioning that?
Once again thank you for this guide. I’ll move on to the left shifter 🙂
Best regards,
Jørgen
Jørgen-
I’m very happy to hear that the site was useful. I’m not planning to do any updates to the site… It was a weekend project several years ago, and I don’t spend nearly as much time with old shifters as I once did 🙂
I appreciate the suggestion of white Teflon grease. I have recommended white Lithium grease. I imagine both are much better than a solvent that many people report using.
Finally, your experience of having the pawl fail to move because of solidified grease is a common failure mode. I often run some WD-40 through the shifter, actuate the pawls, and repeat several times, before concluding that a disassembly is in order. If the WD-40 (a solvent, not a lubricant) loosens the pawl, and the shifter begins to work, then I add the spray Lithium grease.
Happy riding!
Best wishes- Tyler
Hello. This is somewhat unrelated to the repair of these shifters, but do you know if these shifters will fit on 31.8mm diameter handlebar?
Hi Fareast_cyclesar. The diameter handlebar fit is determined by a replaceable component on the shifters. If the bar clamp on your shifters won’t fit your handlebars, then a replacement clamp is about $2.
Dear Tyler,
first of all: thanks for this great Blog. I learned how do dis- and reassemble my ST6400 in one day.
Sadly my problem didn’t get solved.
I bought a pair of ST6400 STIs. The left one is working perfectly.
The right one sadly did not move. I cleaned it up with WD40. It started shifting, but sadly it not pretty well.
Downshifting works fine, but I can hardly shift up. It is really ornate to shift, I don’t believe it would be fun to ride this shifter…
I decided to disassemble the shifter, to clean every single part. After reassembling I used plenty of lubricant.
Now we have the same phenomenon. Downshifting works fine, upshifting is power-consuming.
Eventually you have an idea.
Thanks a lot,
best greetings from Germany
Michael
Hi Michael-
Thanks for the comment and the question. I usually find that a failure to upshift is usually a problem with the free rotation of the pawl, or a spring that is has grown weak.
You may try removing the pawl, then using some 400 grit sandpaper to clean the post the pawl rotates around. You can also get a tiny roll of the 400 grit sand paper and clean the inside of the pawl. Be sure to lube the post before reassembly.
The other cause is a broken ring spring.
I hop that solves your problem!
Best- Tyler
Hey Tyler,
thanks for the quick response.
This whole cycling hobby is about interesting people like you (who spend hours and years helping others with their knowledge). It’s so cool, that you are answering questions since five years.
Today I disassembled the whole STI. It was really not that difficult.
I cleaned all the parts (with 600 sandpaper) and lubed it (with “Feinmechaniköl”, tried to find a translation, but could not find anything).
At first, the upshifting got better (still not perfect). So I think it’s really about the pawl. (I checked all parts, especially the springs, and everything kinda seems fine). After a few shifts it got worse, so I think I simply used a wrong lubricant.
I have a silicone lubricant I could try out tomorrow.
Do you have any lubing tips?
All the best
Michael
Hi Michael-
I generally use a lithium waterproof spay grease for internal lubrication. Many people confuse a solvent with a lubricant. Please note that WD-40 is a solvent, not a lubricant. This means that it is good for breaking up the dirt and grime within the shifter, but not good a keeping everything moving smoothly. I use WD-40 to help with cleaning, but lithium waterproof grease for actual lubing.
Feinmechaniköl… just looking at the word I would guess that the translation is fine mechanical oil. I would not use an oil for lubrication. The rough upshifting that you experience may be a function of the oil on the gears. The oil is too thin. This means that you can feel the imperfections of the pawl and the teeth. You get the same feeling after cleaning with a solvent like WD-40. Only after adding the grease does the shifting begin to feel smooth.
Good luck Michael!
Yes, it is fun to work on bikes. I did this blog many years ago. Now I am older, I finished my PhD, I have a “real job” and I have a son. I don’t get to ride very much any longer. It is a pleasure to help people who ride more than me. Ride your bike, be safe, and have fun! You’re only young once 🙂
Best- Tyler
hey Tyler,
I hoped so much to share a short Video of my perfectly shifting STI. But sadly it just does not work fluent (and I am aksing for help and your free time a third time in a row).
I made pictures, because i simply do not know what could be wrong any more. My favorite bike shop had some extra lubricant for me. Yesterday I disassembled the STI again, cleaned every single part with WD40, dried and cleaned it up and worked on most parts with 600 grit sandpaper. I lubed every single part (was glad having practiced it so many times before, it’s not getting easier with so much lubricant :D), put the STI together, and it still doesn’ work correctly.
All the single parts work perfectly. It starts stucking after beeing put together. I don’t believe it’s my fault, because I had the exact same problems before I disassembled it for the first time.
https://www.imagebanana.com/s/1478/PfDfZab8.html
https://www.imagebanana.com/s/1478/QEvVZZSY.html
I took these two pictures.The upshifting mechanism (1.) moves a little bit, and needs then tremendous efforts to shift.
The small part (2) fits pretty good. The spring seems fine, everything should be in the right place.
The main spring in the middle does not seem destroyed.
I am at a loss.
Eventually you have an idea.
Best
Micha
Hi Micha-
Interesting problem.
For picture #1, it sounds like there is too much friction within the rotating system. Therefore I suggest that a) you ensure you have all of the washers between the rotating parts. These washers are sometimes paper thin, and made of plastic. Without the washers you will have metal on metal, or two parts with a high coefficient of friction. Another check is b) ensure that the tightening bolt is not *too* tight. If the final bolt is too tight, then all the moving parts have more friction and are harder to move.
For picture #2, the pawl should swing back easily and smoothly. If the pawl is not moving, then you remove it, clean the post, lube the post, and replace the pawl.
Let me know if either suggestion works, or if you find another reason for this not working. Good luck!
Tyler
Hi Tyler,
I think I figured out the problem source, though I still do not have a solution for it.
My bike-gear-Englisch is not that good, so I try to do my best with this picture:
https://www.imagebanana.com/s/1479/4oyVSnHT.html
I compared my ST6400 with my old RSX STI and some STI videos.
If I understand the mechanism correctly, the release pawl is lifted a little bit during the upshifting to enable it.
And it should be released by the black bart (I marked pink on the picture).
The Problem with my STI is (at least I believe so) that this does not happn. Everything rotates perfectly fine (I tried pushing the release pawl down with a small screw driver, so I am pretty sure, that no parts are missing).
Perhaps you have an idea how to solve this.
Micha